The imagined worlds project has a theme of historical north east and for this particular project we are going to be focusing on the tale of the Lambton worm. A folklore tale that is told in schools all around the north east and a story with morals and lineage. The idea we have at the moment is a very ambitious project, fairly large scale in a short amount of time.
Testing
Testing is important in development as it allows us identify any bugs or issues in our game that we could potentially look at fixing. It’s important to quickly identify any game breaking bugs or issues so that we can quickly fix them in turn to get a fully working product.
Week 1 – Pre-Production
Technical Considerations
Programming Technical Considerations Overview
Engine and Programming Language
- Unity Engine 2020.3.16f
- Strengths
- Easy to use.
- Unity Teams for easy collaboration.
- Built in file explorer for easy organization.
- Multi-platform build support
- Built in store for assets and plug-ins
- Cloud build for quicker building of projects.
- Inclusive debugging tools.
- Simple input management.
- Weaknesses
- Despite being a LTS build, newer iterations have been released fixing bugs.
- Can’t upgrade projects to newer Unity versions without introducing bugs.
- Unity Teams is a manual configuration meaning users have to manually publish changes.
- Other game engines can give an instantly polished look.
- Post-Processing can be processor heavy.
- Strengths
- Microsoft Visual Studio 2017
- Strengths
- Integrates well with Unity.
- Supports many programming languages.
- Weaknesses
- Sometimes with Unity Teams, Visual Studio can lead to a problem where if the file is modified by another user, it will not recognize Unity libraries, in turn, making it harder to code or autocomplete.
- Strengths
File Structure and Backup
Files should be named appropriately and grammatically correct. As an example, PlayerController.cs should be all one word and not Player_Controller.cs. This should also be placed in the correct folder for better organization. This particular file would belong in a scripts folder. If needed we can go deeper with the organization and have folders relating to Player, Environment, Objects etc..
The files should be backed up to cloud storage such as Google Drive and One Drive and should also be backed up to external hard drives. I generally bring my Laptop with me so I will have a copy on there as well.
Planning and Spreading Work Between Multiple People
In our group, we have two people who are experienced with code. Myself and Devon Hunt. We are both looking at the important pieces of code used to make our game function. We will divide coding tasks between ourselves depending on the code needed.
The first script we are looking at is player movement and how our character should move. The second script we will need is camera movement.
Depending on the scripts needed whether it be an object spawning or the environment reacting to something, this is where we will assign different coding jobs to different people.
Format / Condition / Resolution of Assets
We will be working in Maya for our 3D models and are going for a low poly art style. Because of this we will need FBX or OBJ as Unity supports these formats preferably with the textures baked on to the model itself. These textures will not need to be high quality which in turn should make the game less resource heavy and make loading times that tiny bit quicker.
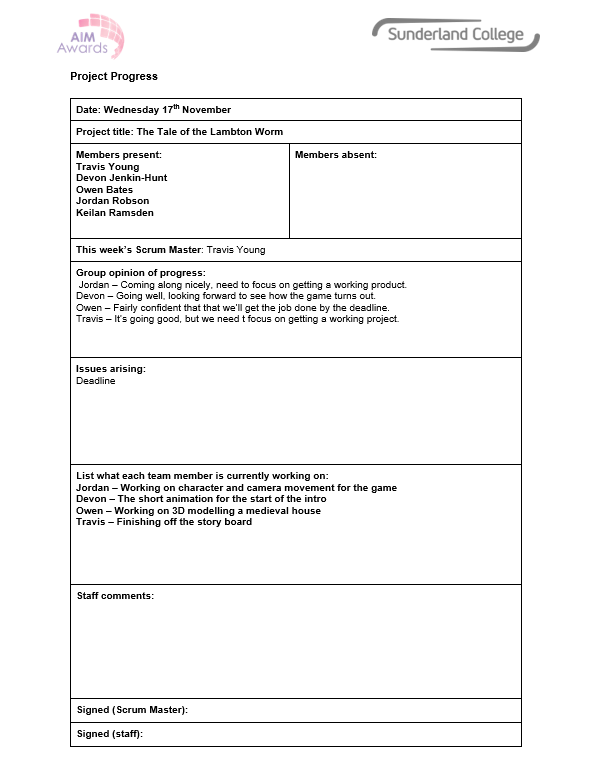
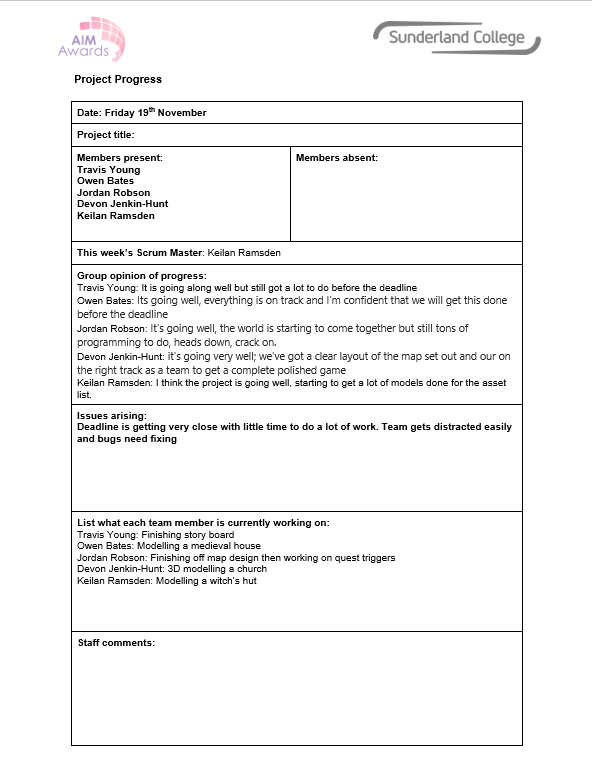
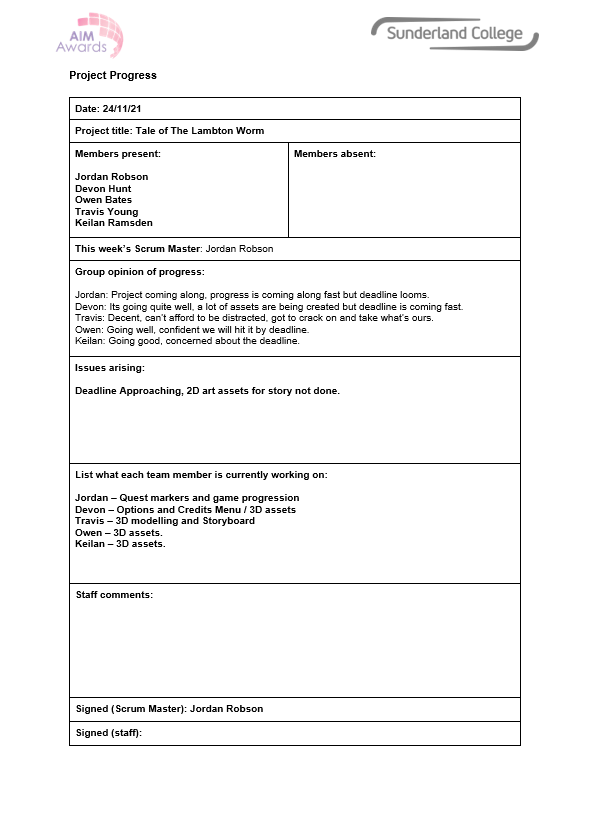
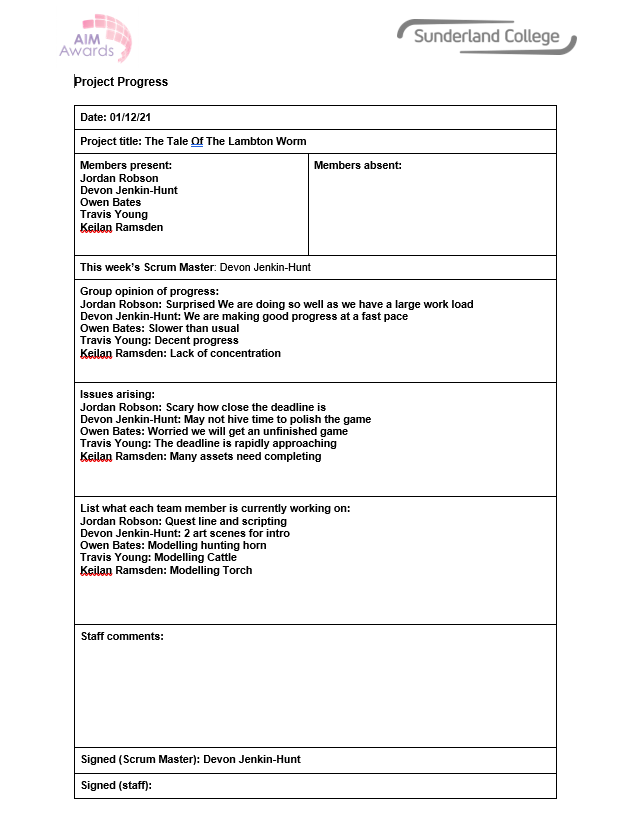
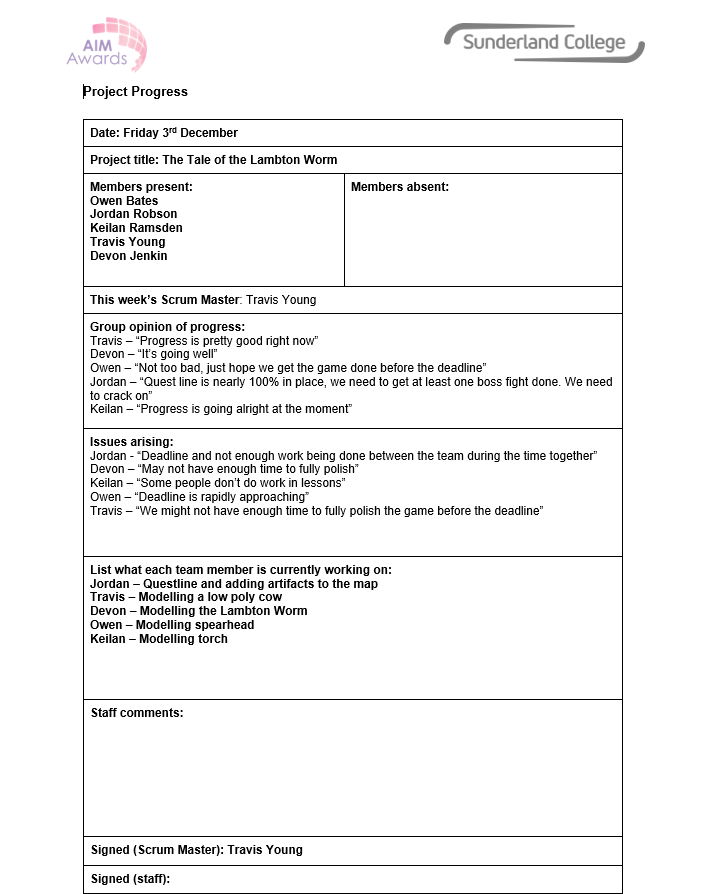
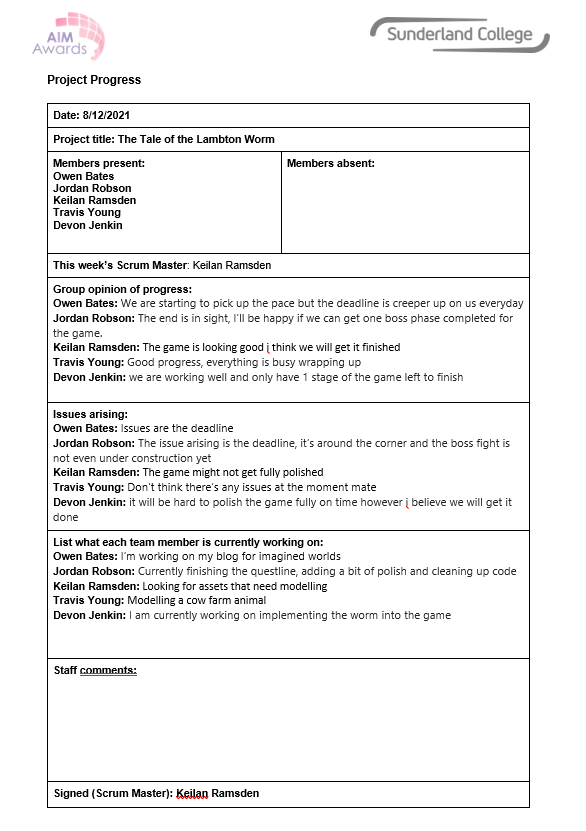
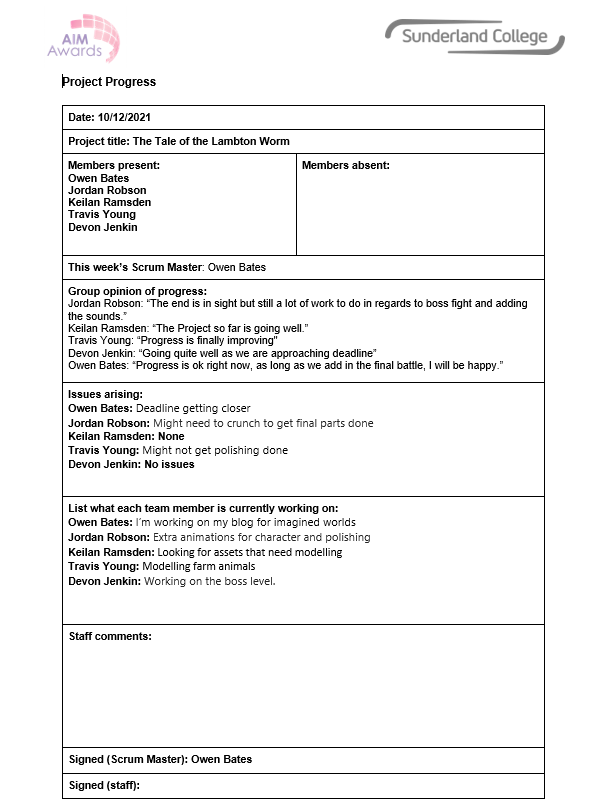
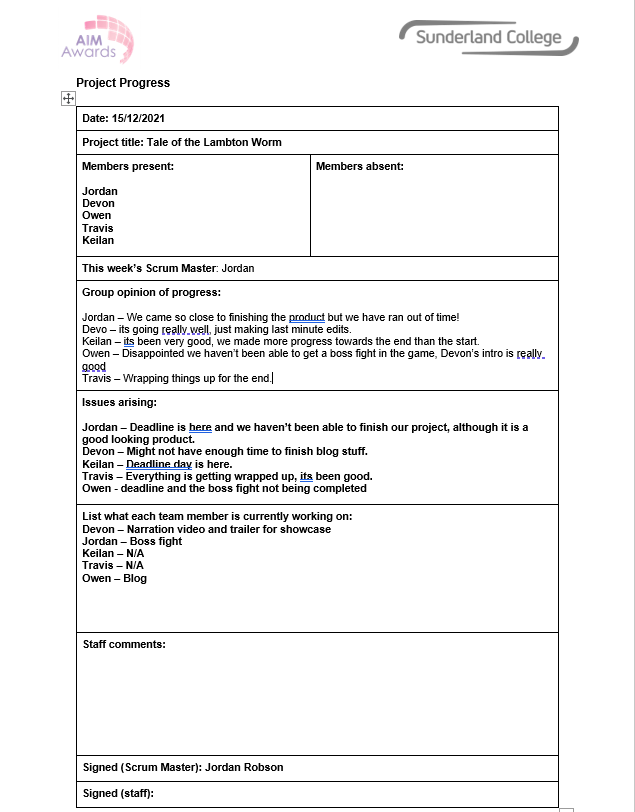
Scrum Sheets
In Pre-production, we chose our team and assigned roles. Our team consists of:
Myself – Producer, Designer, Programmer
Owen Bates – 3D Modelling
Devon Hunt – Programming
Travis Young – Storyboard/Playboarding
Keilan Ramsden – Level Building, 3D Modelling
The theme of the project is called ‘Historical North East’ and as a group, we had a lengthy discussion about what we could potentially make before coming across The Lambton Worm. The Lambton Worm is a tale told throughout schools in the north east as a legend and a staple in north east history. As per, we decided to start off by putting our ideas onto a Trello board.

From this point on, I got to work on creating a GDD for our project along with an asset list.
GDD
Asset List
Chris came in and gave us an interesting proposal to work with some music students on the music for our game. We met the music students and effectively communicated our game idea to them. It wasn’t long before we received our first samples of sound effects and music.
I think you explained it well and we can definitely work with the explanations you gave, also everyone we have told about what we are doing thinks it’s really cool and look forward to seeing it finished including me and nova
Caitlin (Music Student)
Honestly the concept is amazing. It’s really cool to see people interested in a folk tale from the north east enough to make a game about it. You get lots of people looking at Norse, Greek or Roman Myths and Legends, but to actualise a tale like the Lambton worm into a game is great! I’m actually having lots of fun coming up with music ideas.
Nova (Music Student)
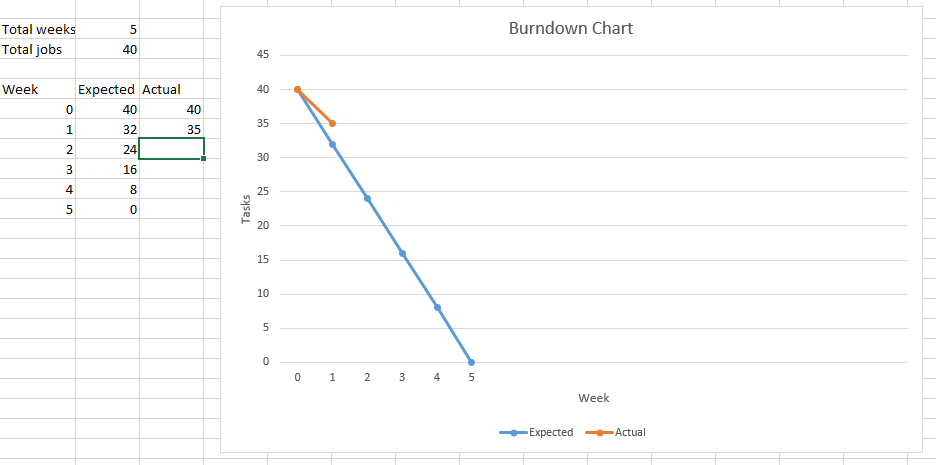
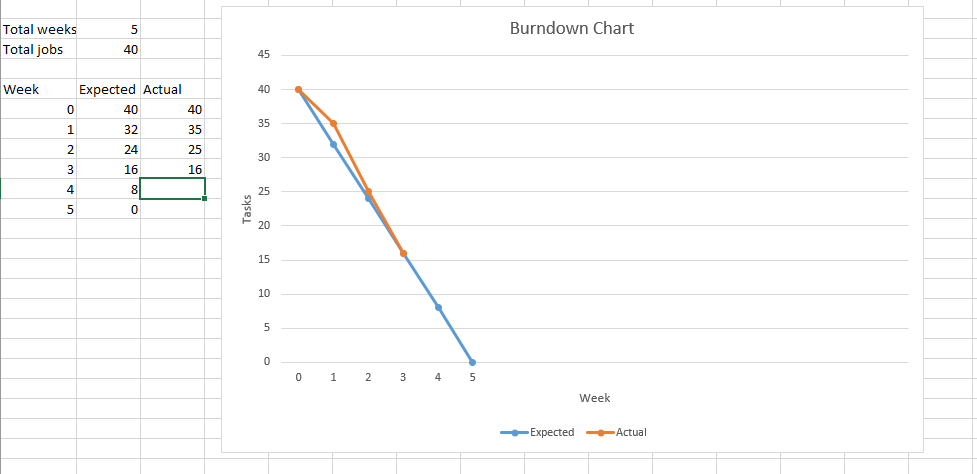
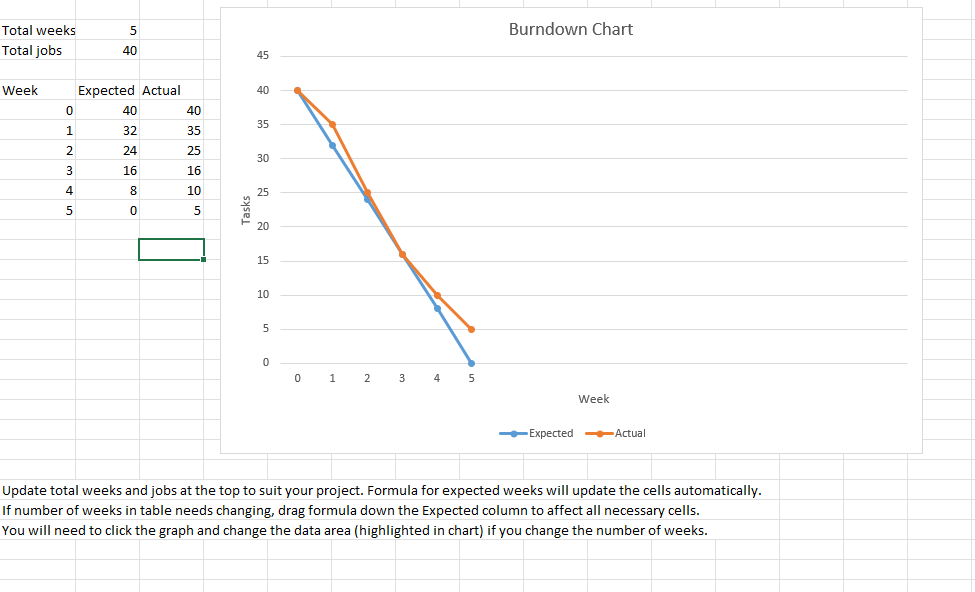
Once the asset list was done, it was time to get to work with a burndown chart. The burndown chart allows us to keep track of progress to see if we are going to hit our xG (expected goals) before time runs out.
Burndown Chart
Preproduction Schedule

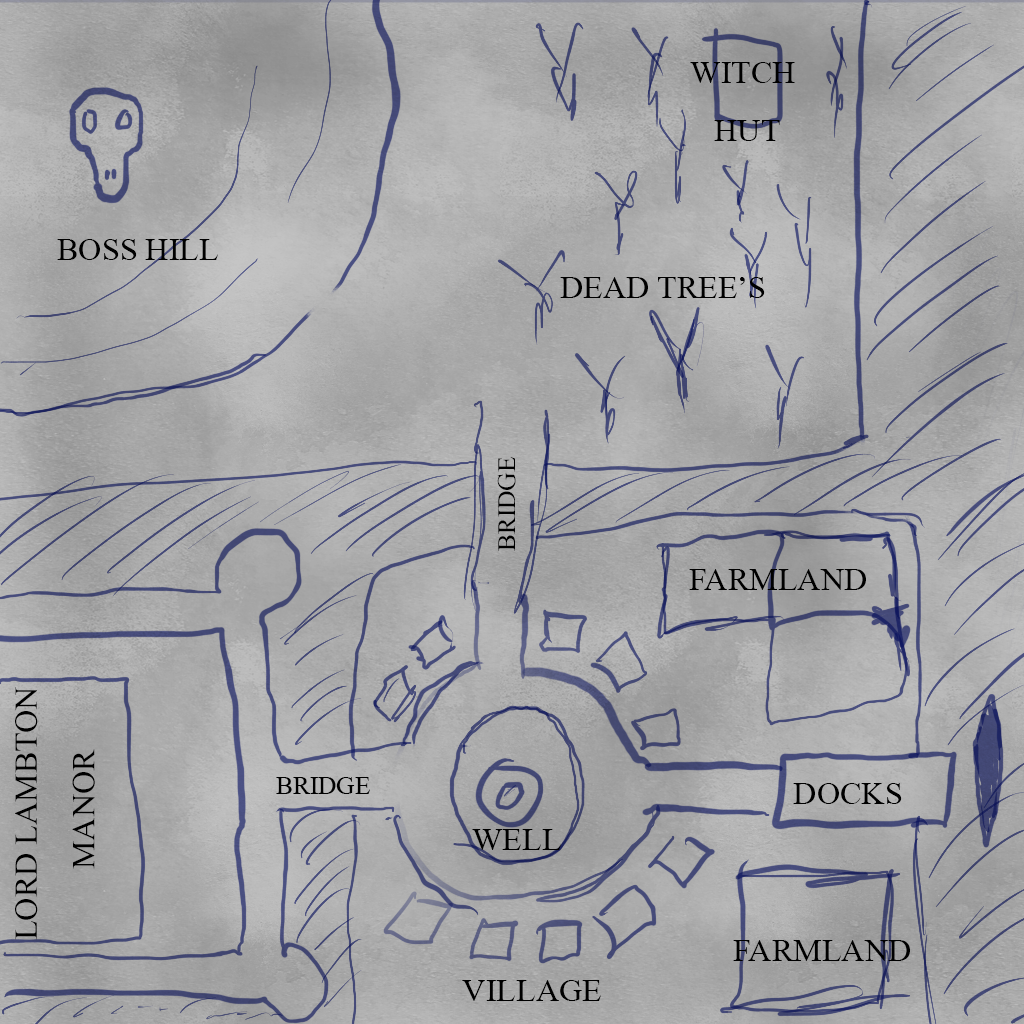
So obviously in the first week, we are in pre-production so its time to get our heads down and crack on with the task at hand. I started by drawing a map of our world so that we can place it into Unity then place our made assets on top of the map.

I then submitted an idea to our team for an art style for the cutscenes in our game. This is what I think our title scene should look like.

Week 2 – Still in Pre-Production
Week 1 Reflection – The idea is in place and the main documents are done, Next week is going to be productive so it is important that we utilize our time correctly and be efficient so that we can get a working product asap.
Scrum Sheets
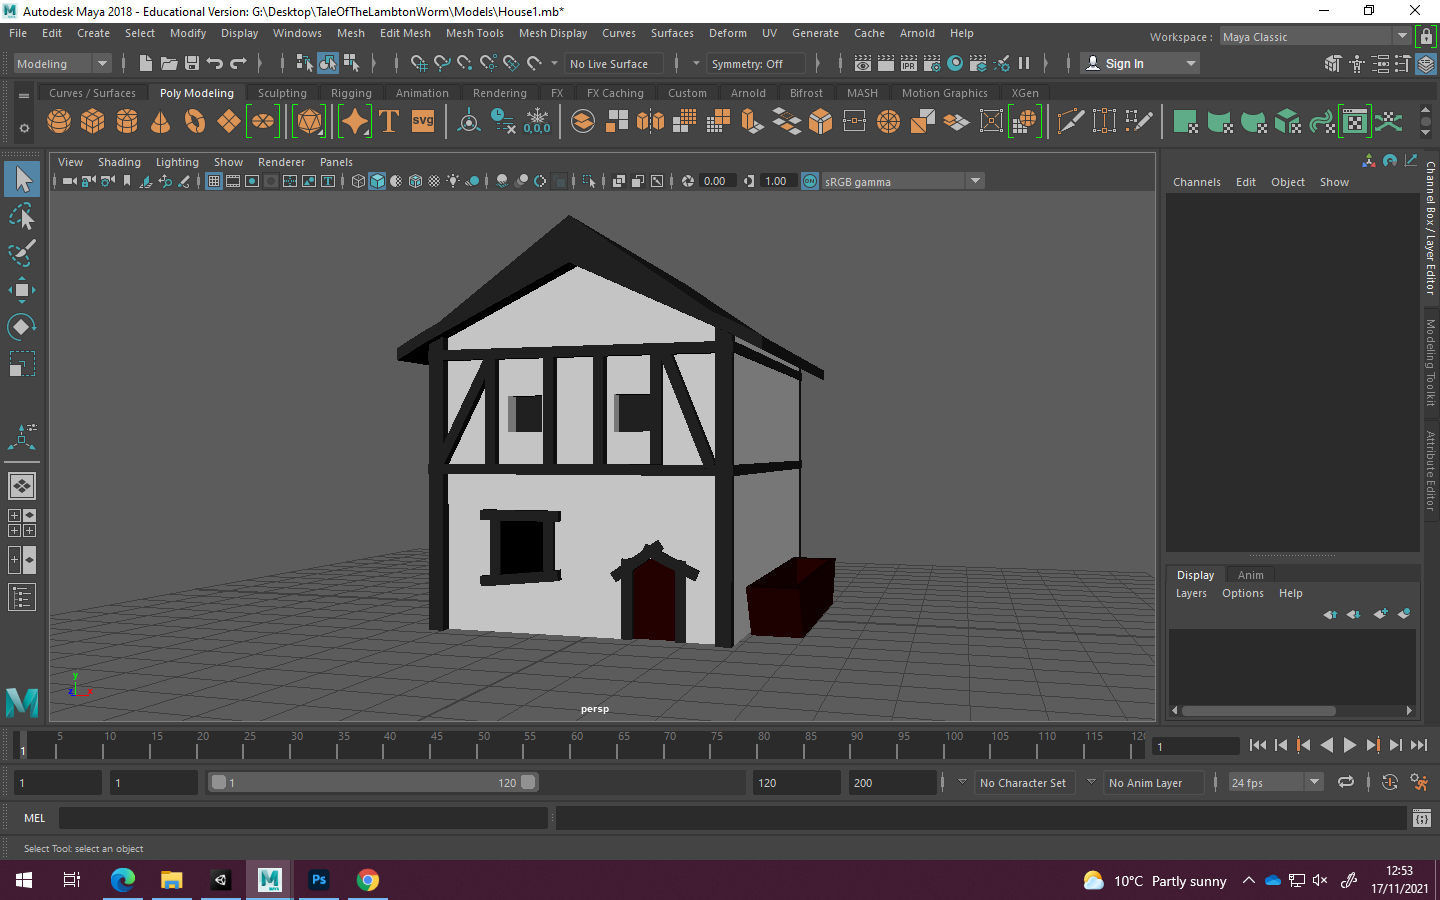
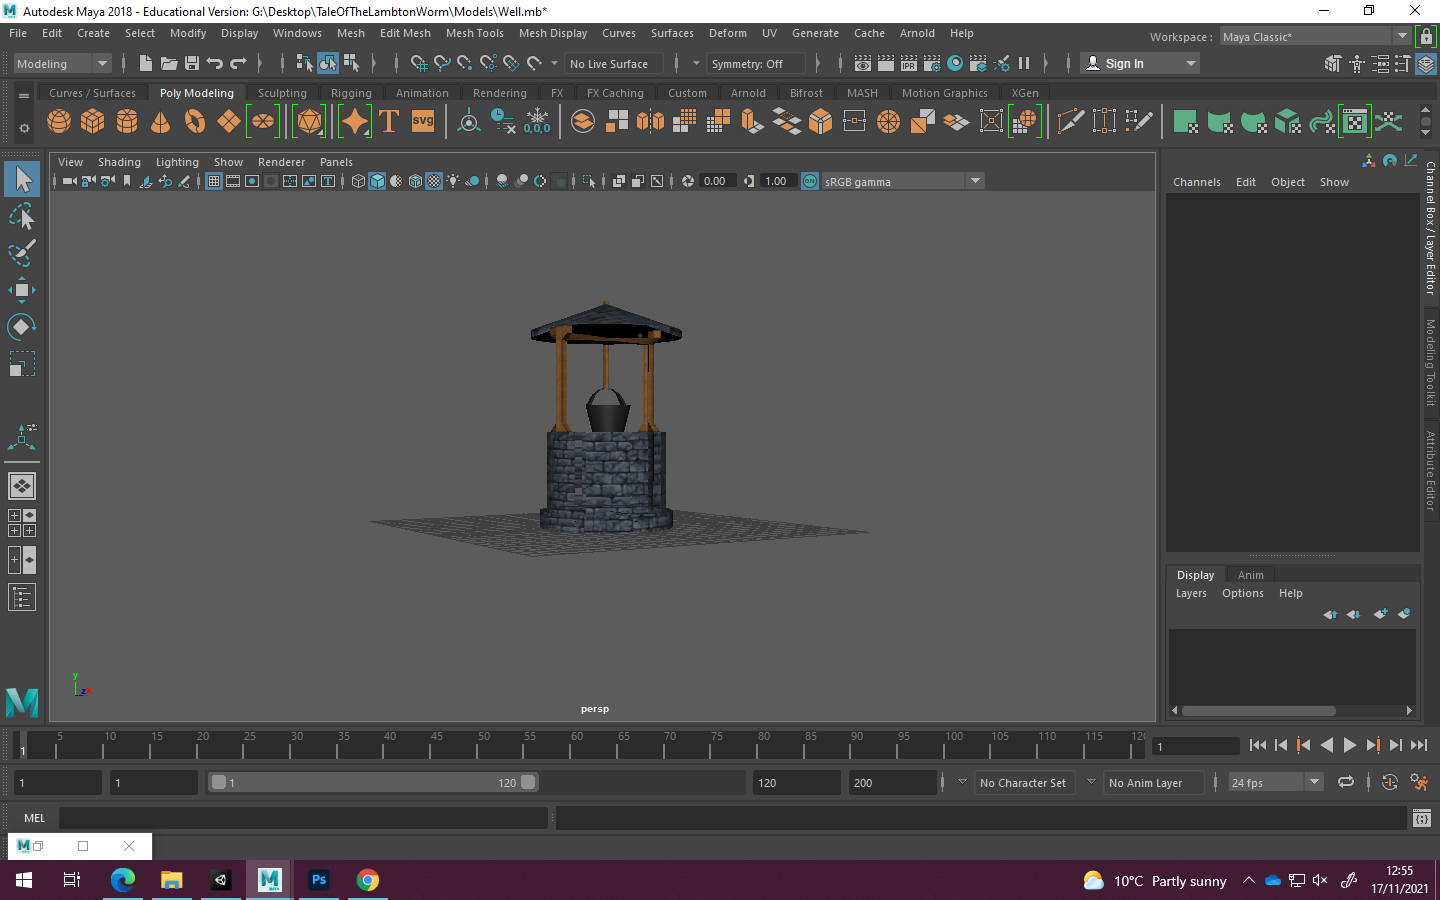
During week 2, I got to work on 3D modelling some assets and working on character and camera movement. For the 3D assets, I worked on one of our house prefabs, the bridge and the well for the center of the village, I will also be looking at the terrain tool to bring our map to life and hopefully have an understanding of scaling in our world. In the event of the terrain tool not working as hope, I will use primitive shapes for the map.
Burndown Chart
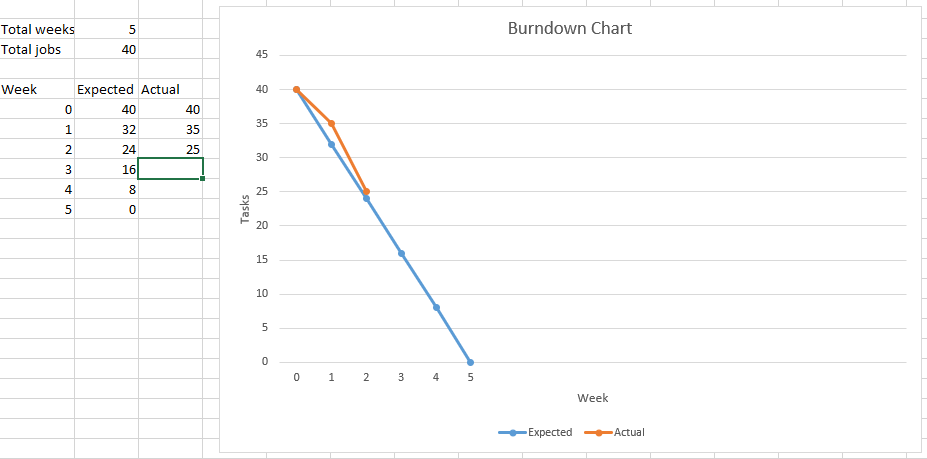
Burndown chart is showing a steady progress but still tons more work to do. It is important that we get at least a working product with triggers to activate scenes so this will be the main focus of this week for me.

I got to work on the map and world design, as the terrain tool was too difficult to get the scale correct, for now, I have used primitive shapes within Unity. Firstly I imported the map design and laid it over my scene as a raw image. I then blocked out the world before applying some textures found as a free asset on Unity and began placing my 3D models.
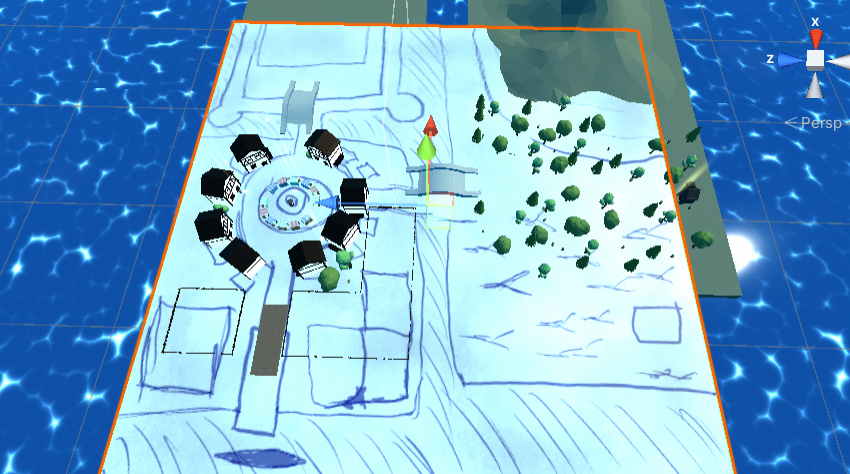
I also used Brackey’s for a tutorial on the water shader. What’s great with this shader is that every aspect of it is customizable, the water colour, the ripple colour, density and speed and it also adds height to the plane giving the true illusion of water crashing.
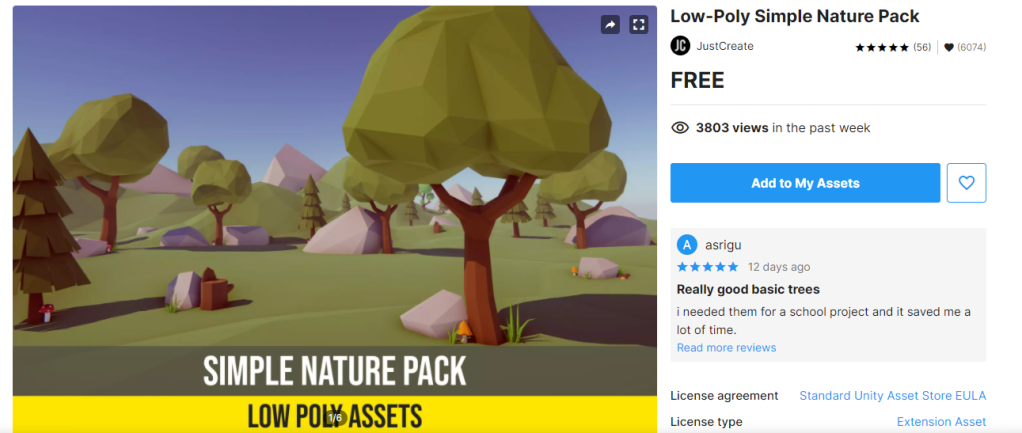
I tried to improvise on the map and used a prefab from a Unity Package I owned, this made the hill look more like an actual hill and I placed some tree’s from the same package on the same island as the hill. Owen made some market stalls to place around the well so I placed them into position. So this is a fly through of our map so far.
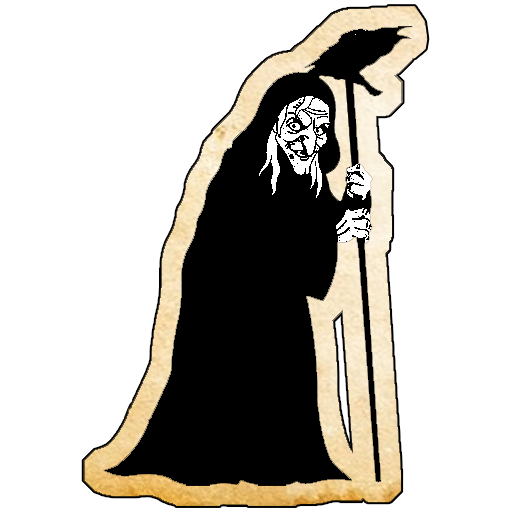
Now I can work on adding triggers to the map to be able to tell the story through the medium of gameplay. There will be triggers for village people before one activates for the witch’s hut in the woods. The village people for now will be capsules and if there is time, we will replace them with actual people. Once the player reaches the witches hut, the scene will change to inside of the witches hut where the witch will read out a riddle, hinting at the location of the 5 artifacts and the consequence of slaying the worm.
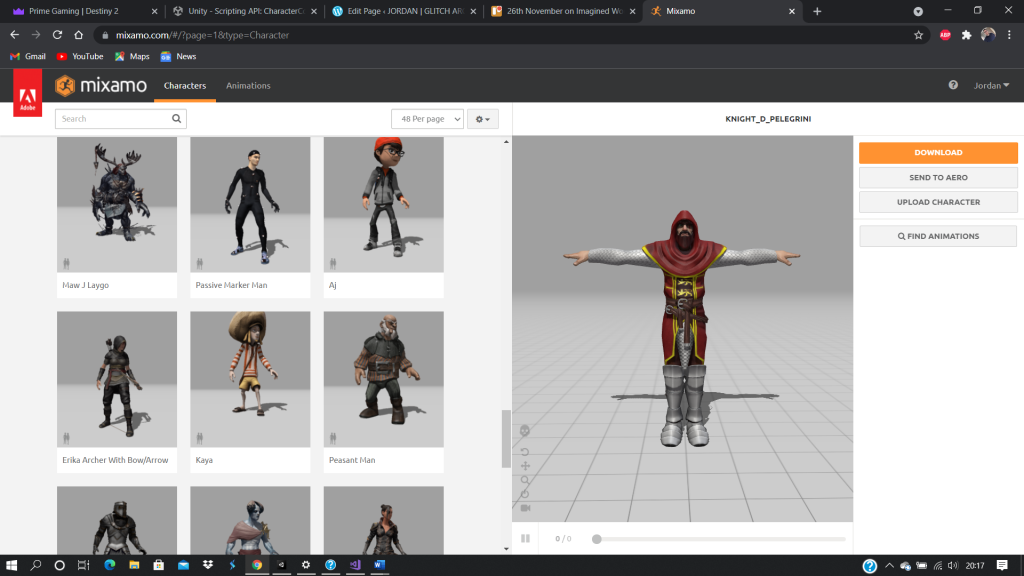
I added a player model to our game, our player model is a 3D model downloaded and animated through Mixamo.com. Mixamo is an adobe owned product that allows users to download open domain models and animations if you are not looking to make a profit for your game.
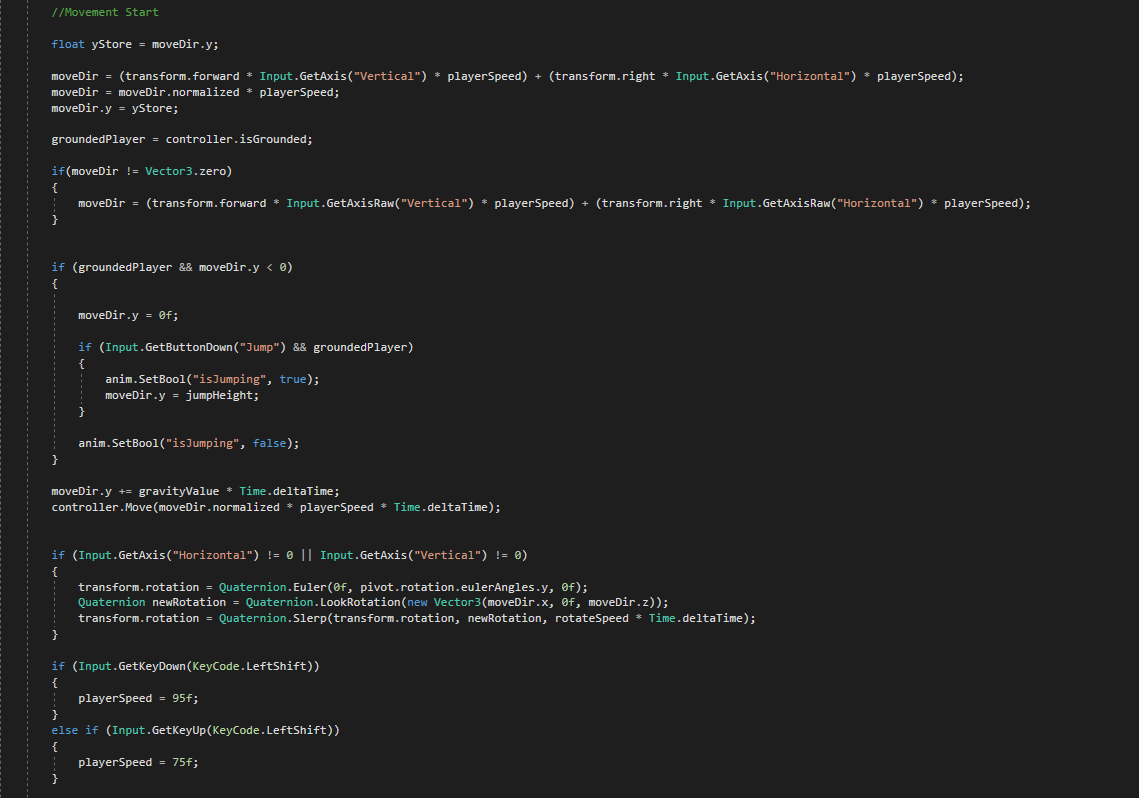
With the asset imported into our game, it was time to program movement. For the Player Script I used a character controller and programmed it to move on the keypress of WASD or arrow keys using Horizontal or Vertical axis. Firstly, there were a couple of issues with this, the player wouldn’t move in the correct direction and secondly, sometimes because of gravity, the player would slow down. I fixed this mostly through trial and error of decreasing the gravity scale and having the player move in the direction of camera position. I then made it so that if the current movement speed was higher than 0.1 it would trigger a running animation.

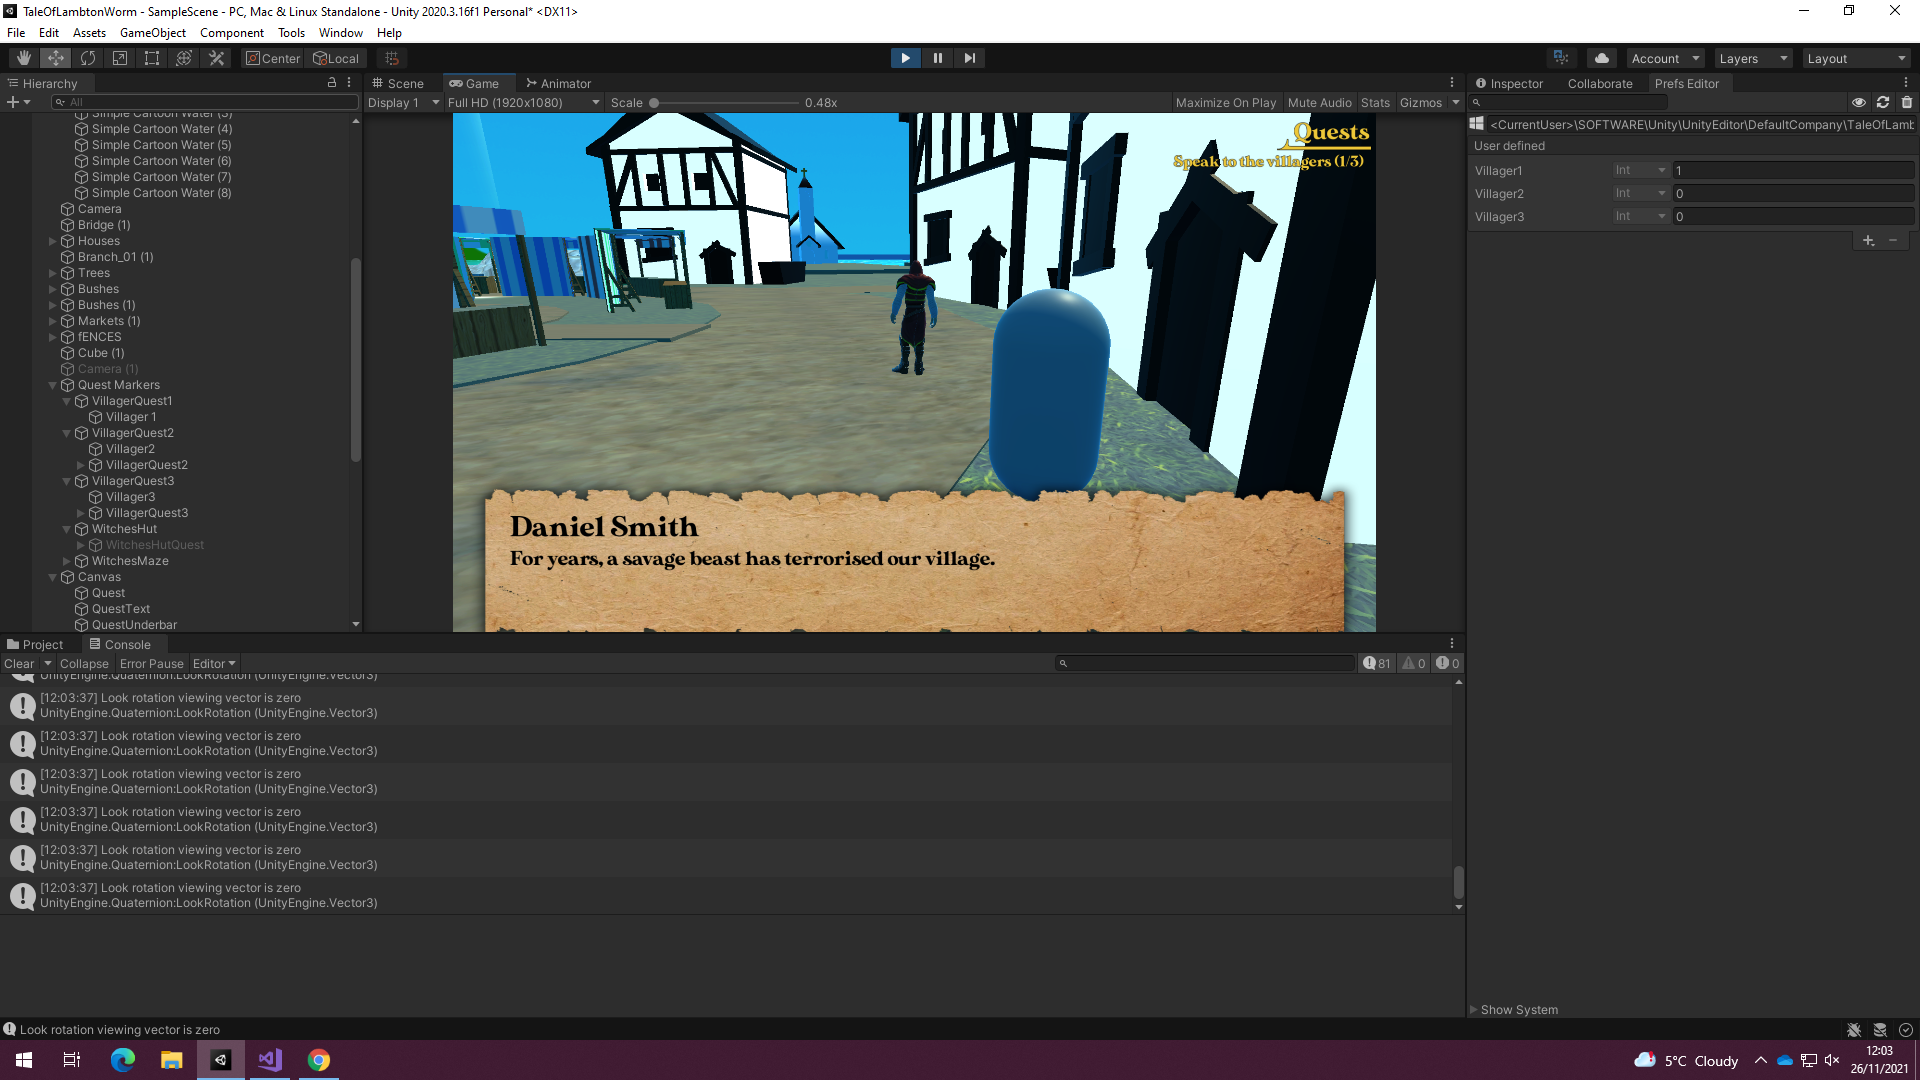
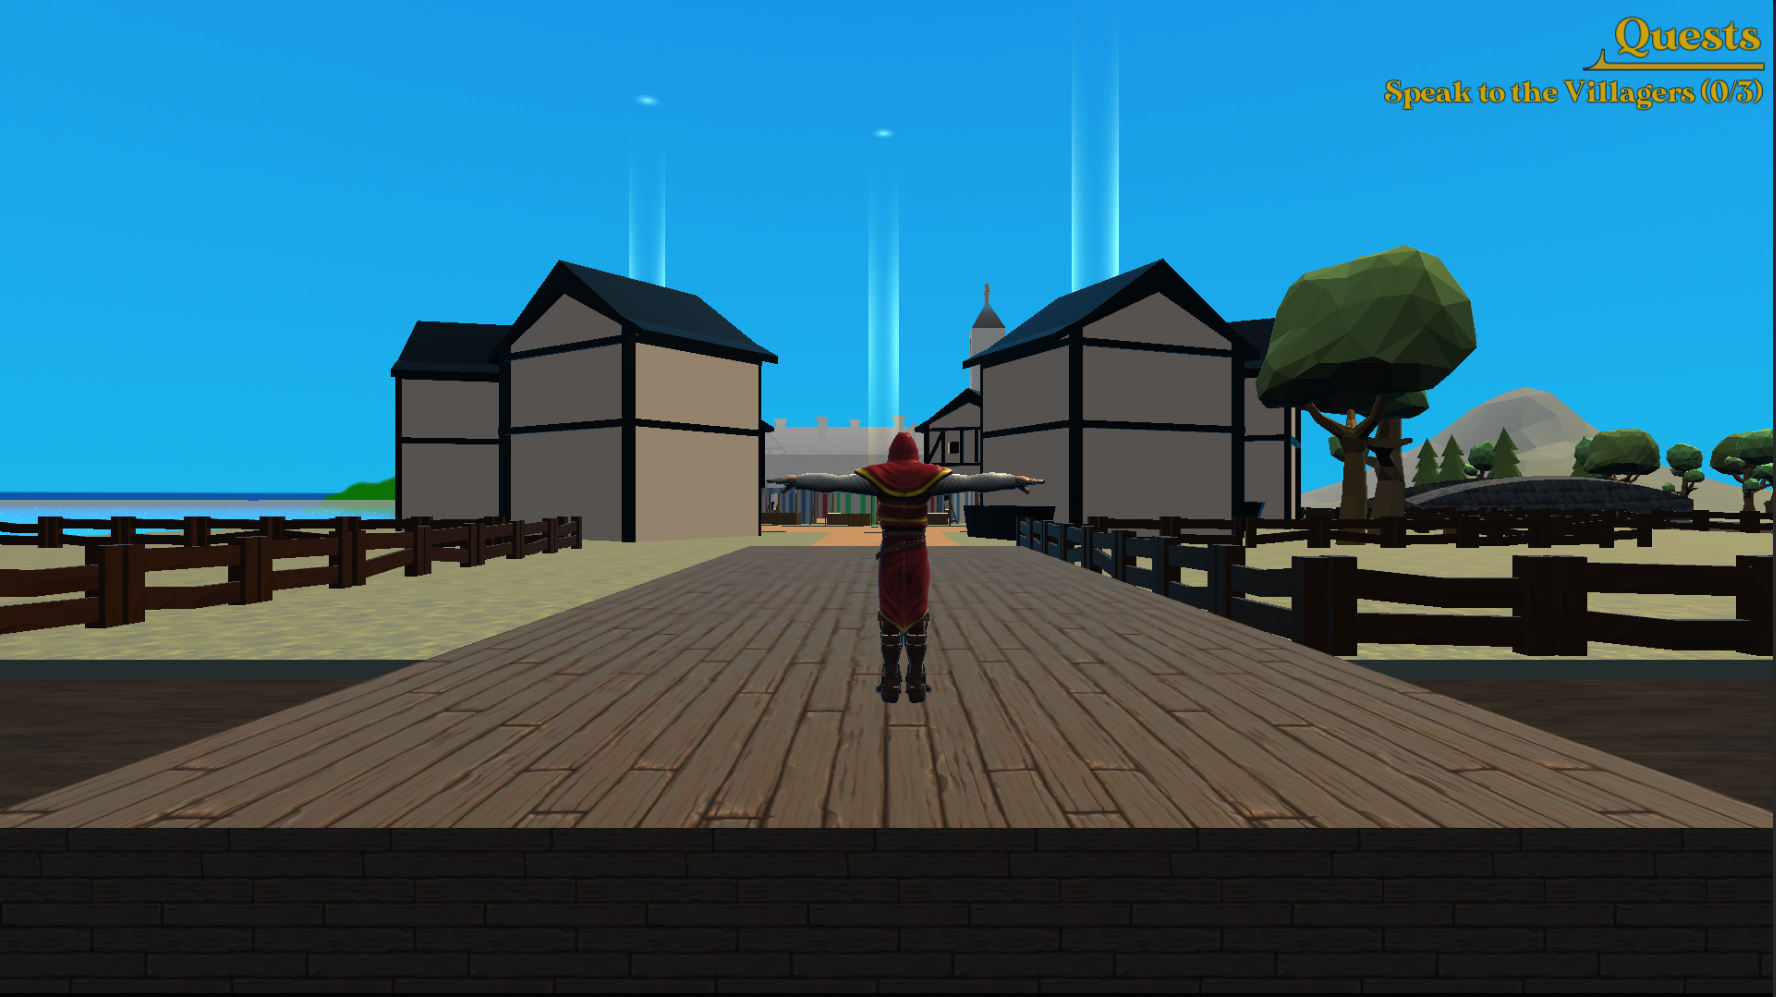
The triggers are a cylinder with a transparent material applied with a light at the base. This gives off the classic quest marker look and the quest marker will disappear once it has been triggered. The player will need to hit all quest markers in order to complete the game. The cylinder in the quest marker is also animated so that it shrinks and expands in order to direct the players attention that way.
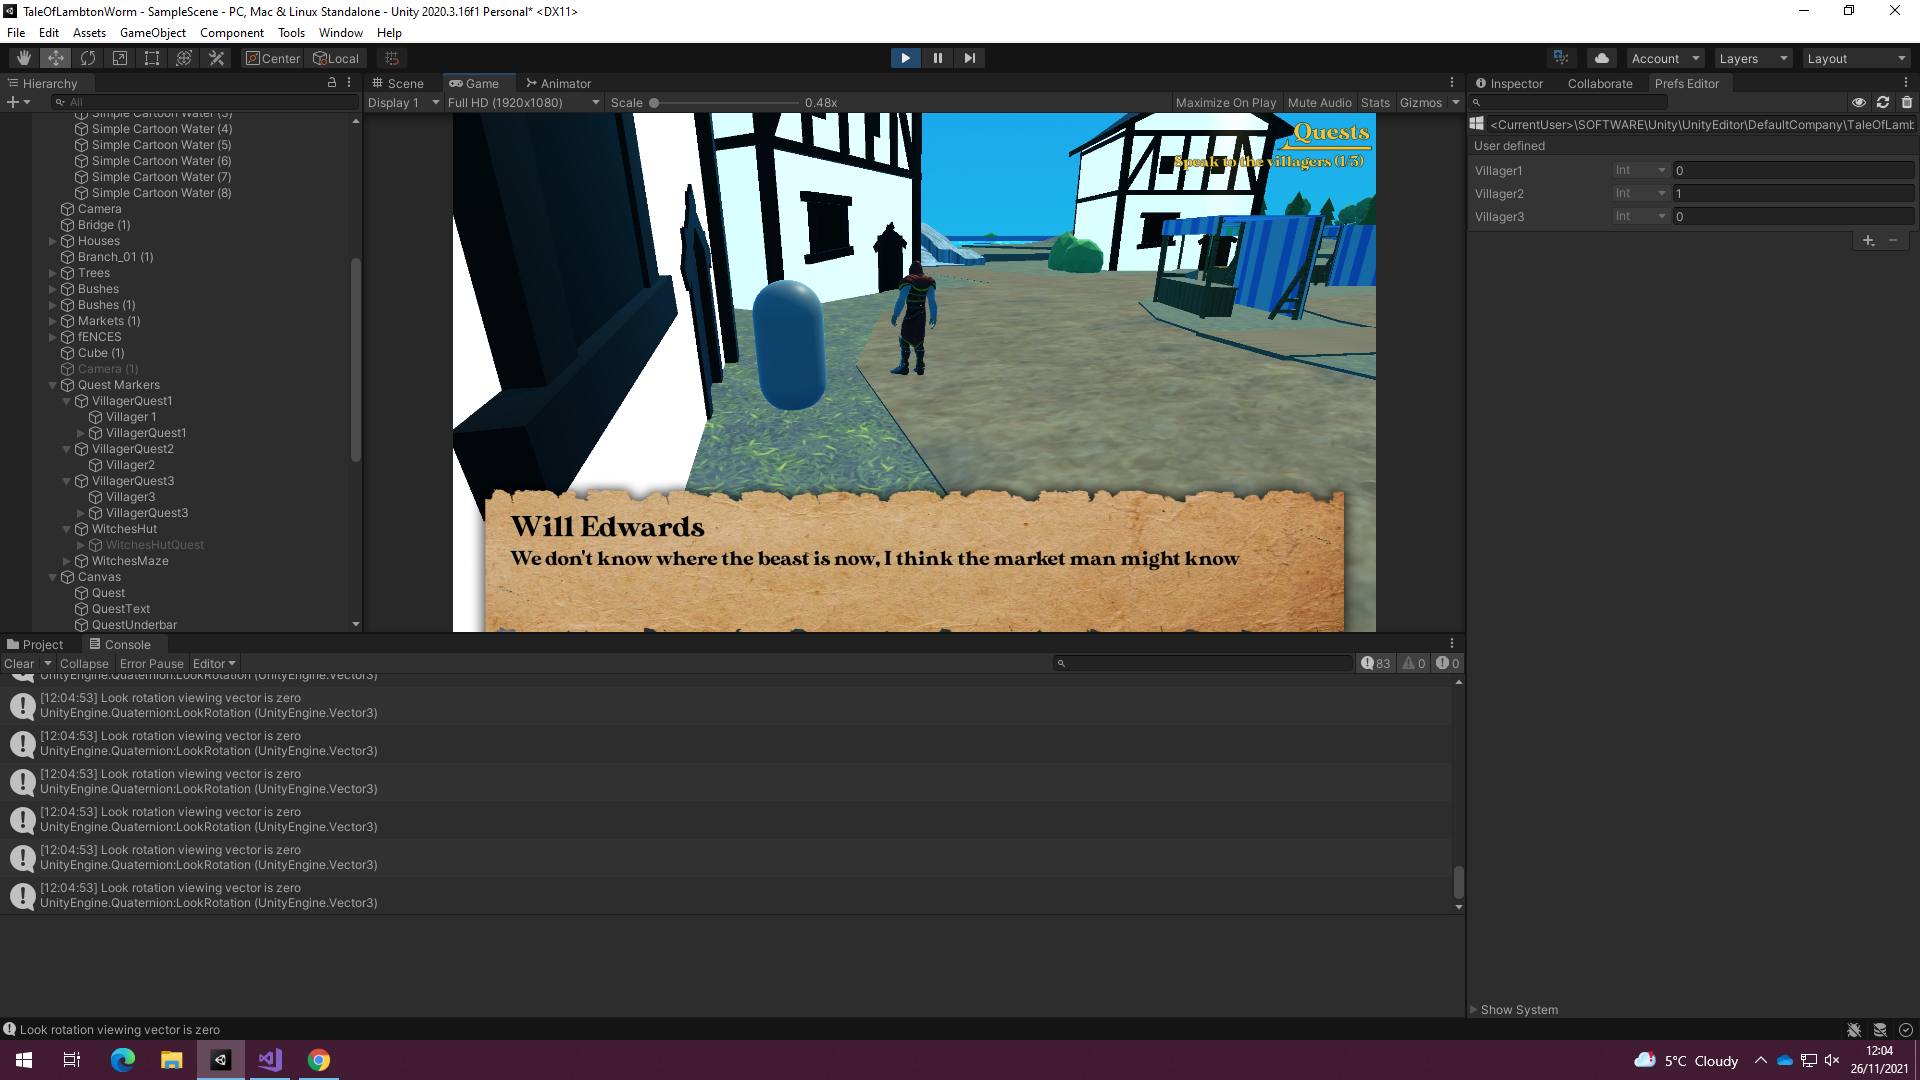
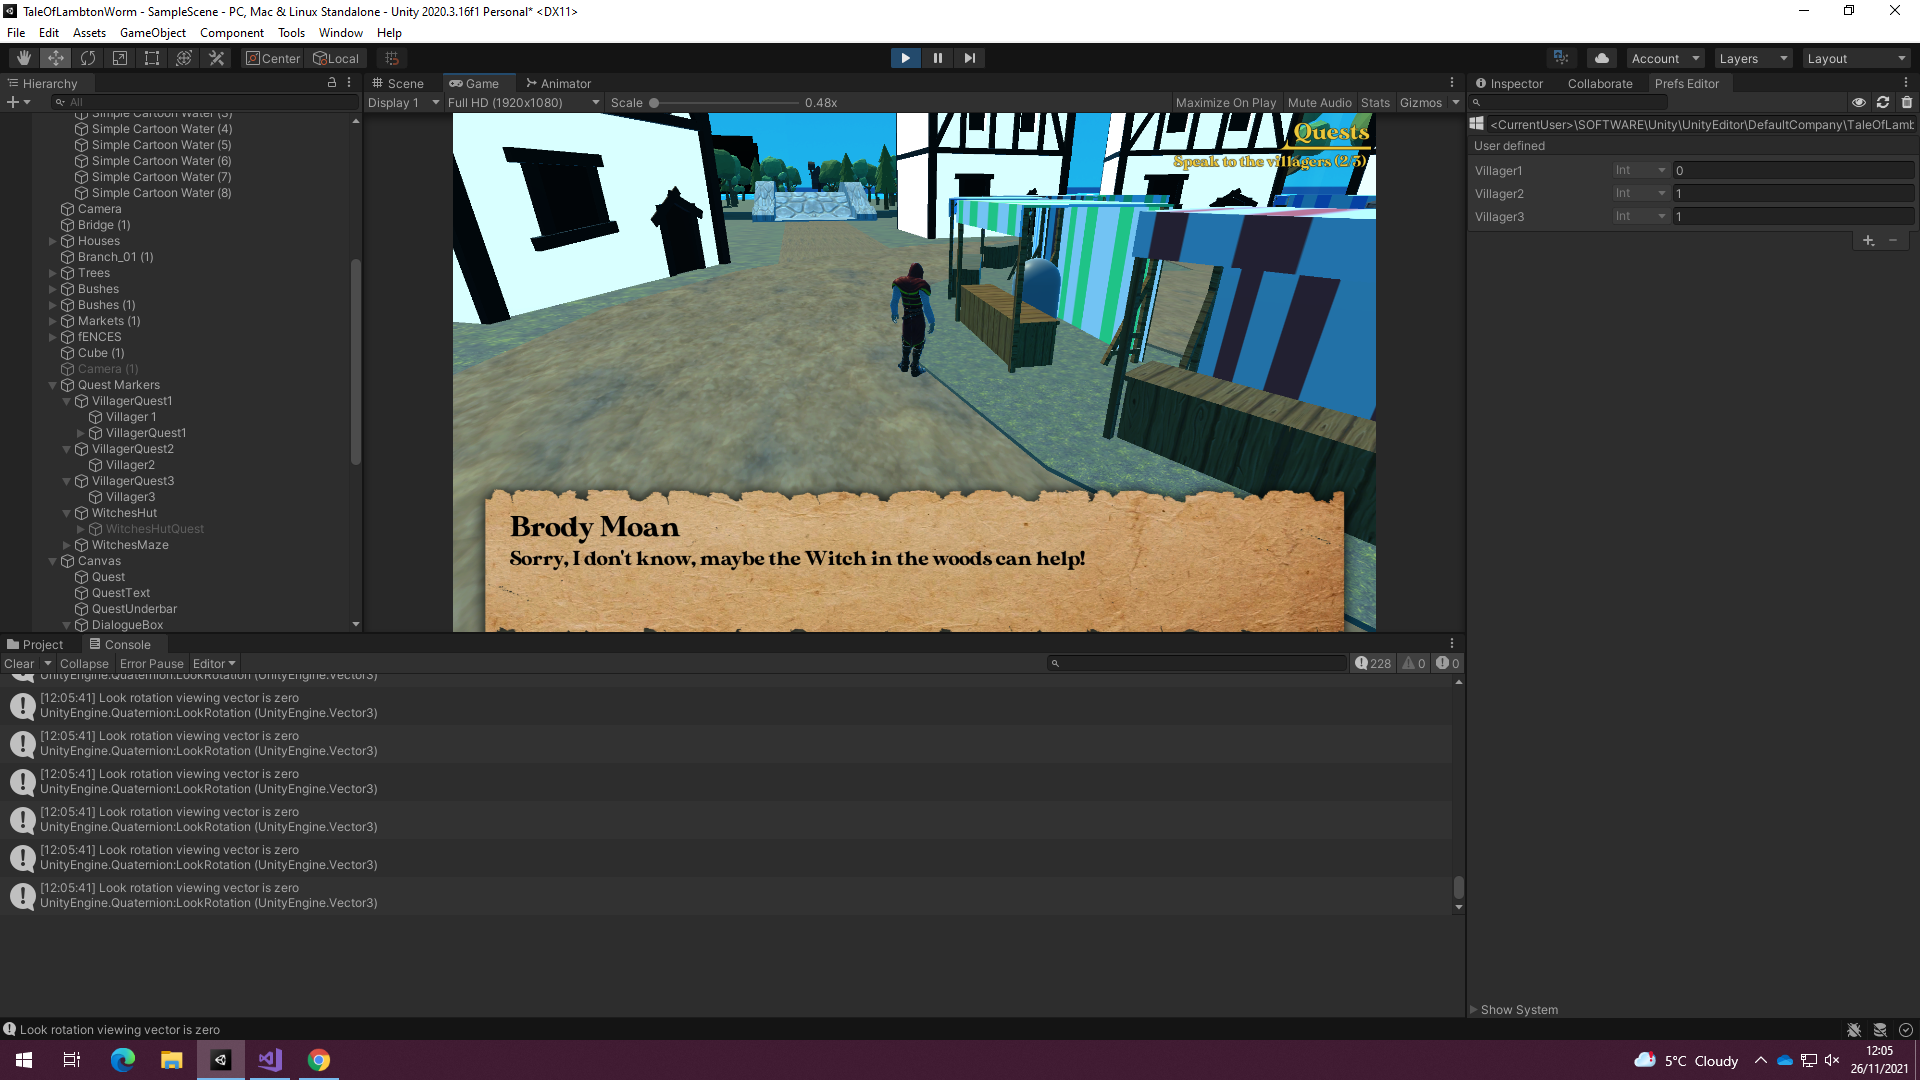
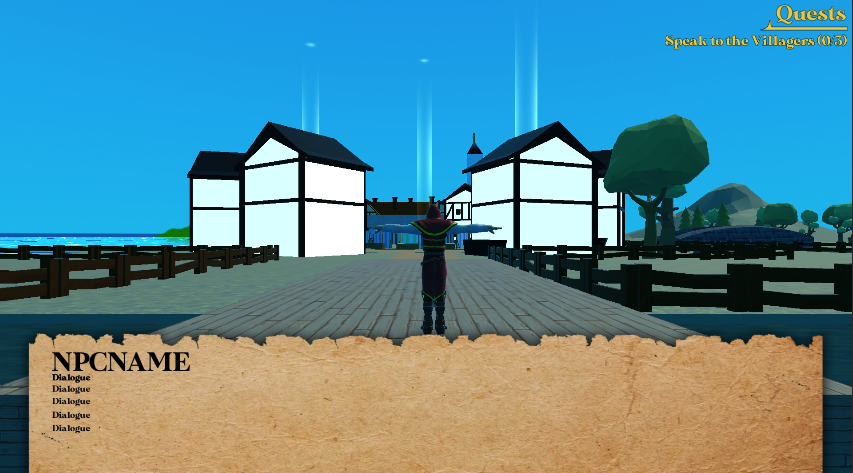
Keilan is working on the witches hut model at the moment but I have started work on quest markers and current quest text to place into the game. The way this works is when the player enters a trigger. When the player enters the trigger with a certain tag, the dialogue text will change. The aim of the villagers dialogue is to direct the player where to go next. The quest text displayed at the top right of the screen gives the player hints as to what to do next. The villagers are named after people in our class who voluntarily gave us their names!
Quest markers will appear in the world showcasing where the 5 artifacts are and the player must collect all 5 before they can start the boss fight. Once all 5 have been collected, the player can then head to the dock to start the first phase of the boss battle. The artifacts do not need to be collected in order.
Artifacts
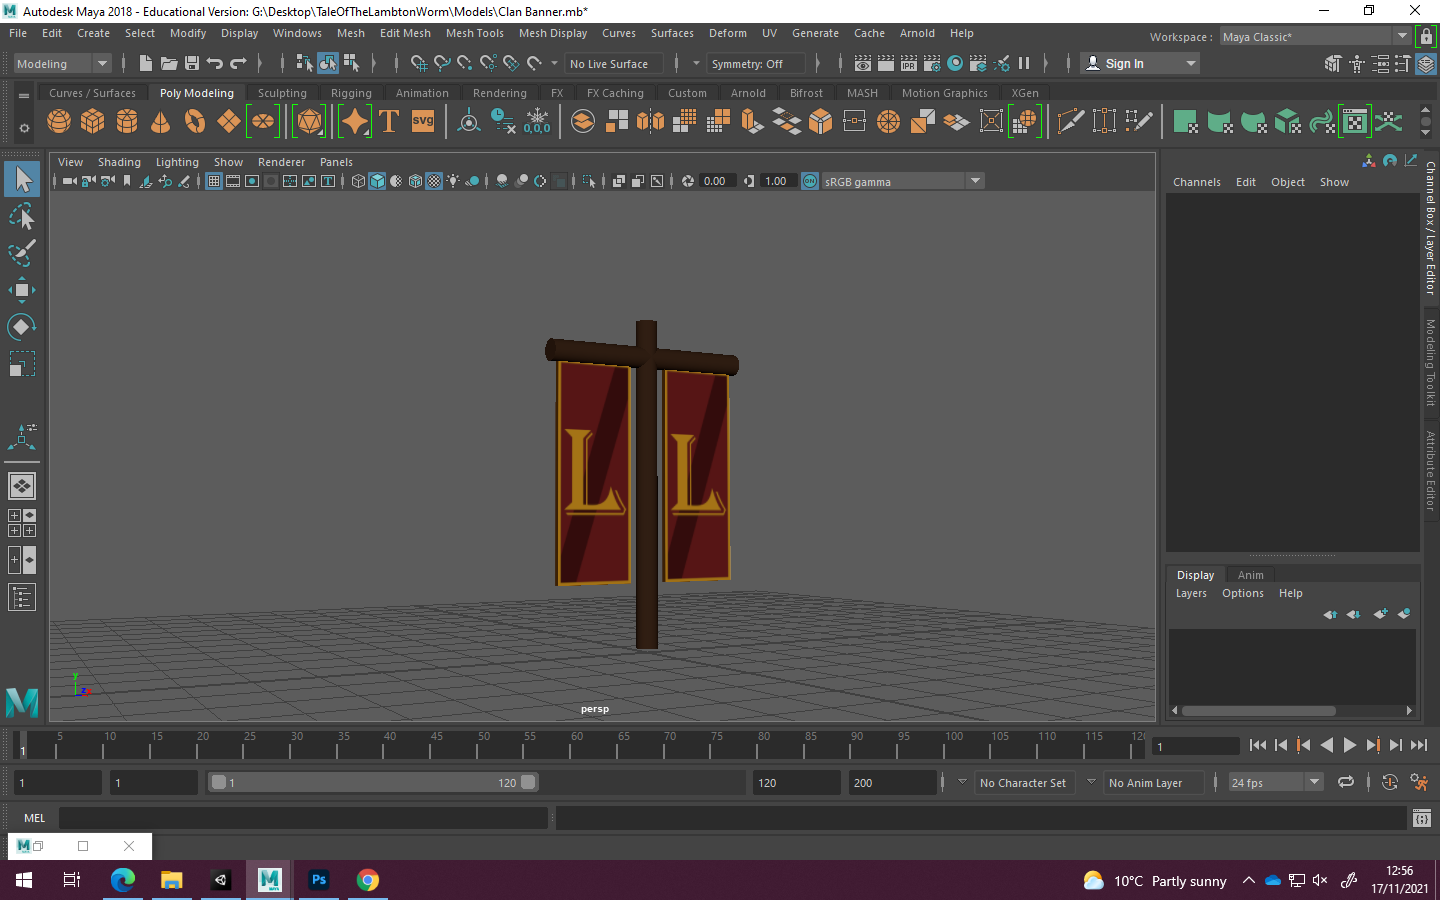
1.Sword. 2.Shield. 3. Clan Banner. 4. Spearheads. 5. Hunting Horn
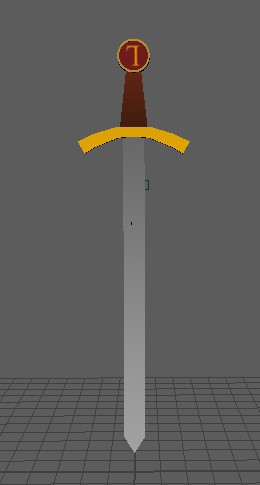
Sword modelled by Owen

Artifact 2:
Shield modelled by Owen
Lambton Clan Banner modelled by Jordan
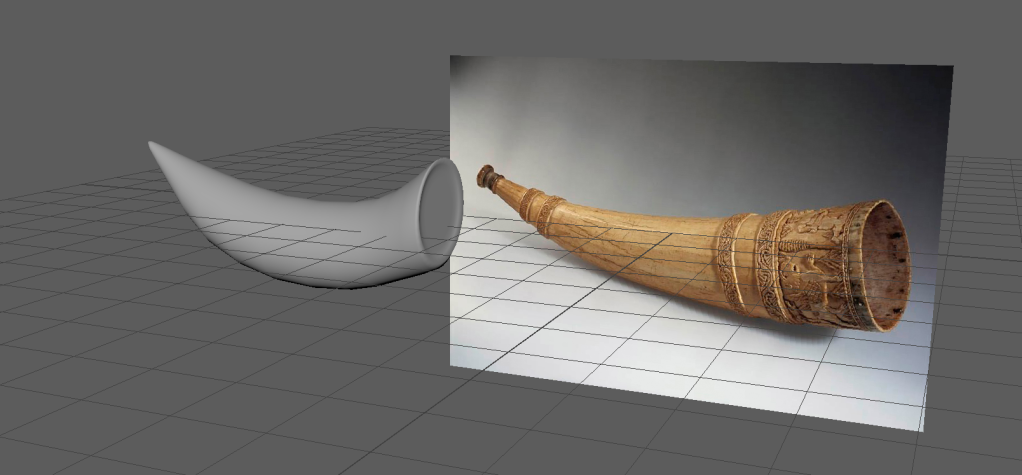
Hunting Horn modelled by Owen
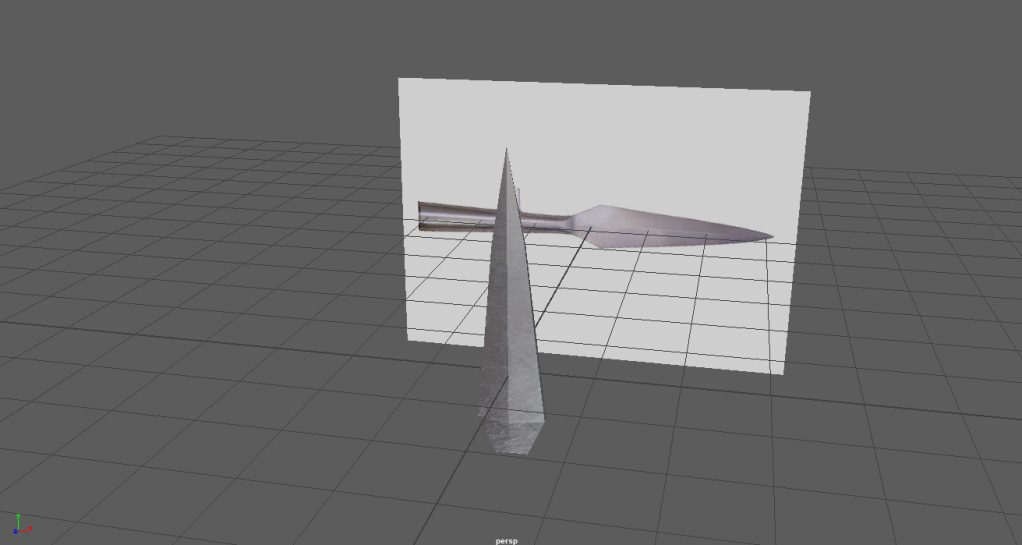
Spearhead modelled by Owen
Week 3 – Production
Week 2 Reflection – What a week, we made tons of progress in terms of assets and moving the game forward, the team were on the ball and it would be awesome to keep this moving in the next couple of weeks.
Scrum Sheets

Burndown Chart
Tons of progress made from last week as Questline is 80% implemented and functional. There have been some issues with the player movement so this will need to be tweaked at some point. By the end of the week, I am aiming to start programming the boss fights, we’ve made tons of progress from the start and the game is coming together, although it has been a challenge as team members have been getting distracted and the workload has been heavy.
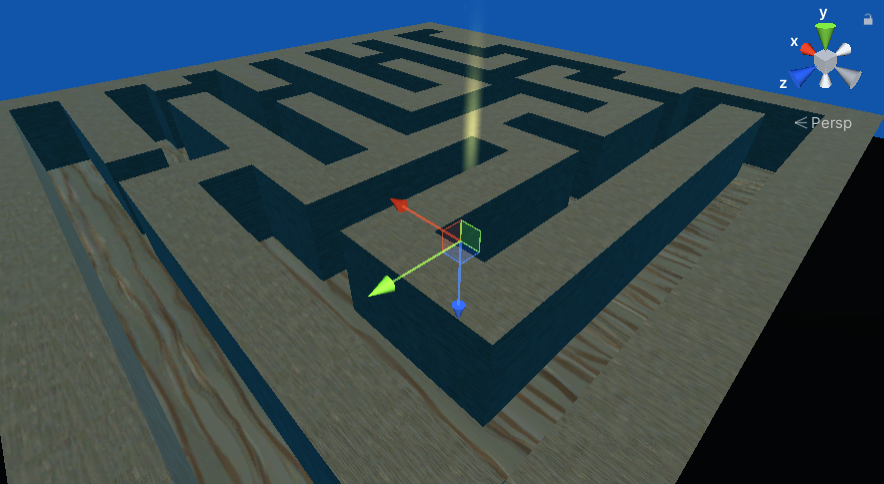
Whilst I was implementing the quest line, I made a maze for the player to navigate through as part of a quest before they meet the Witch. This is purely to add to the duration of the game as opposed to serving an extra step to complete the game. I used Probuilder to build the maze by making a cube and subdivide the top face before choosing the faces to extrude to build a path. Once the player reaches the end of the maze they will be teleported to the Witch where the player will be told of the 5 artifacts. They will then be teleported outside of the witches hut to find the 5 artifacts which are highlighted with Questmarkers.
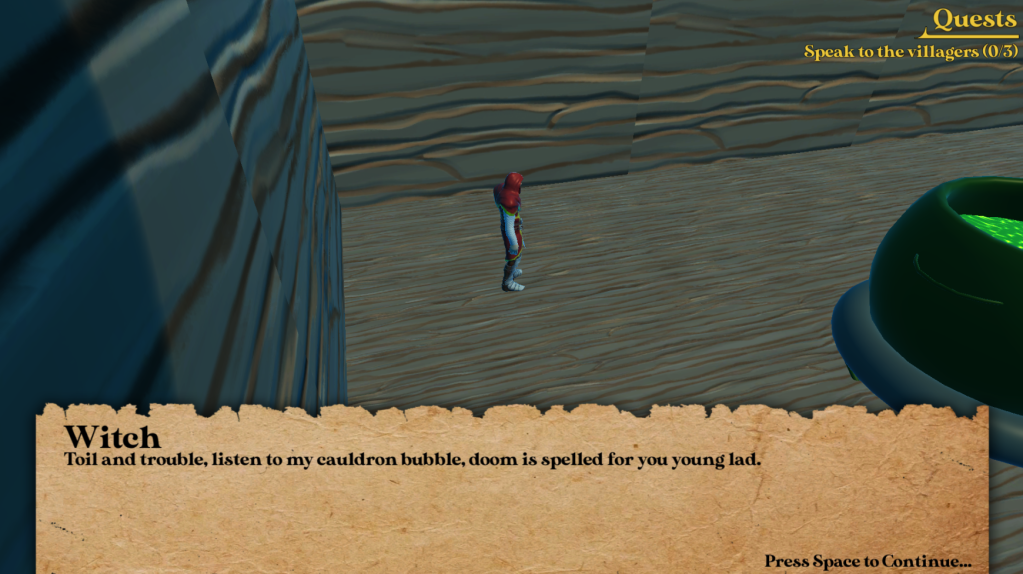
Current playtest shows that everything up until this point in the questline is working. The warps to the maze and then to the witches hut are functional so now it is time to test the witches dialogue once the player is warped to the witches hut. As this is a bit of a lengthy dialogue, the player will need to press space in order to continue the dialogue, the only other way around this would be to have multiple dialogue variables but this looked messy.
The final part of the quest line is active and it involves the player collecting all 5 artifacts before fighting the boss. Once the questline scripting was complete, it was time to work on the combat scripting.
Week 4 Production
Week 3 Reflection – Last week was difficult, the fatigue for myself is starting to kick in and some of the programming errors were simple fixes. Due to seating arrangements in the class, communicating with team mates and keeping them on track was difficult. Up to now, aside from some assets, this has felt like a solo project which sounds harsh and ungrateful for the work by my team mates but I often wonder if there is more they can do to help out with the game or more I can do to get them more involved. An issue here is with Unity Teams and only allowing three seats for a basic team. Sometimes, the work done at the end of the day feels insufficient and I feel like there is way more that could have been done.
Scrum Sheets
Burndown Chart

The end is in sight, however I do fear we won’t be able to complete all of the game, there is still combat scripting to do as well as boss movements and staging. I’ll be happy if we can get just one boss fight done and then some polishing on the game to make it look better graphically.
First thing I looked at this week was equipping the weapon, this was fairly straight forward, all I had to do was place the sword onto the characters right hand and the engine does the rest. The sword now moves with the player, I applied the same principle for the shield and spearheads.

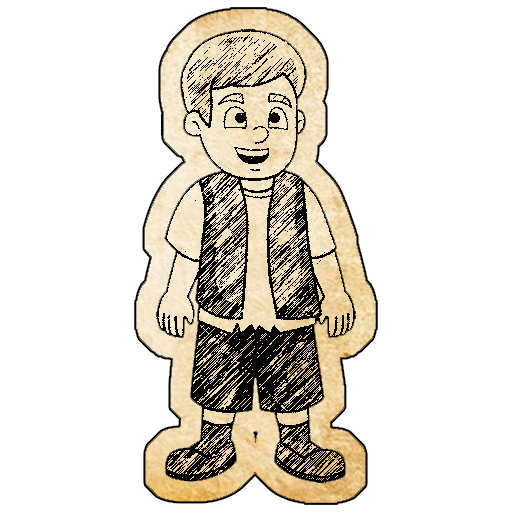
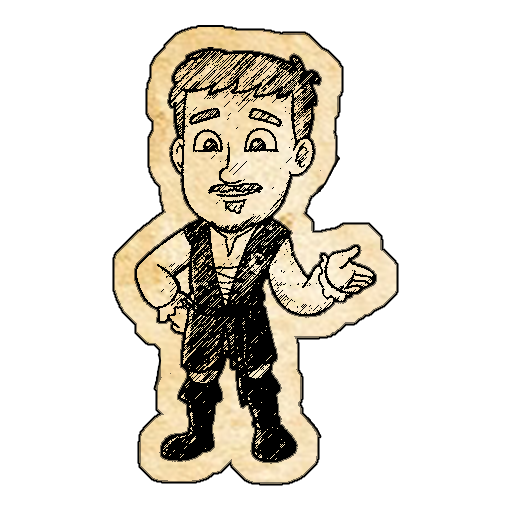
Next I decided to remove the previous villager capsules and make paper-cutout characters. The idea behind this is that our game is like a storybook in a way and so to keep it true to that, the characters were designed so that they look like they are from a story book. I attached a script to these game objects so that they constantly look at and rotate to the player. It is important to note that I did not design these characters, I did make it so it would the art style we were going for.
Villagers – LINK
Witch – LINK
The idea is a clever one but it comes with a comical aspect to it as well. In game, from the front everything is fine, everything is normal however, with a swift rotation of the camera, I guess you could say the characters have had one too many to drink. Take a look.
So the reason this happens is because the image on the game object is tiles on the Z axis and as the Z axis is at 0.1, the texture must wrap around causing it to be upside down on the rear face. The reason it looks as if he is going to a headbutt is because I am using the transform.LookAt function built into Unity. This is a function designed for camera to follow a game object, it is not designed for game objects to look at game objects unless you aren’t supposed to get in close proximity, either way, its a bit of a laugh.
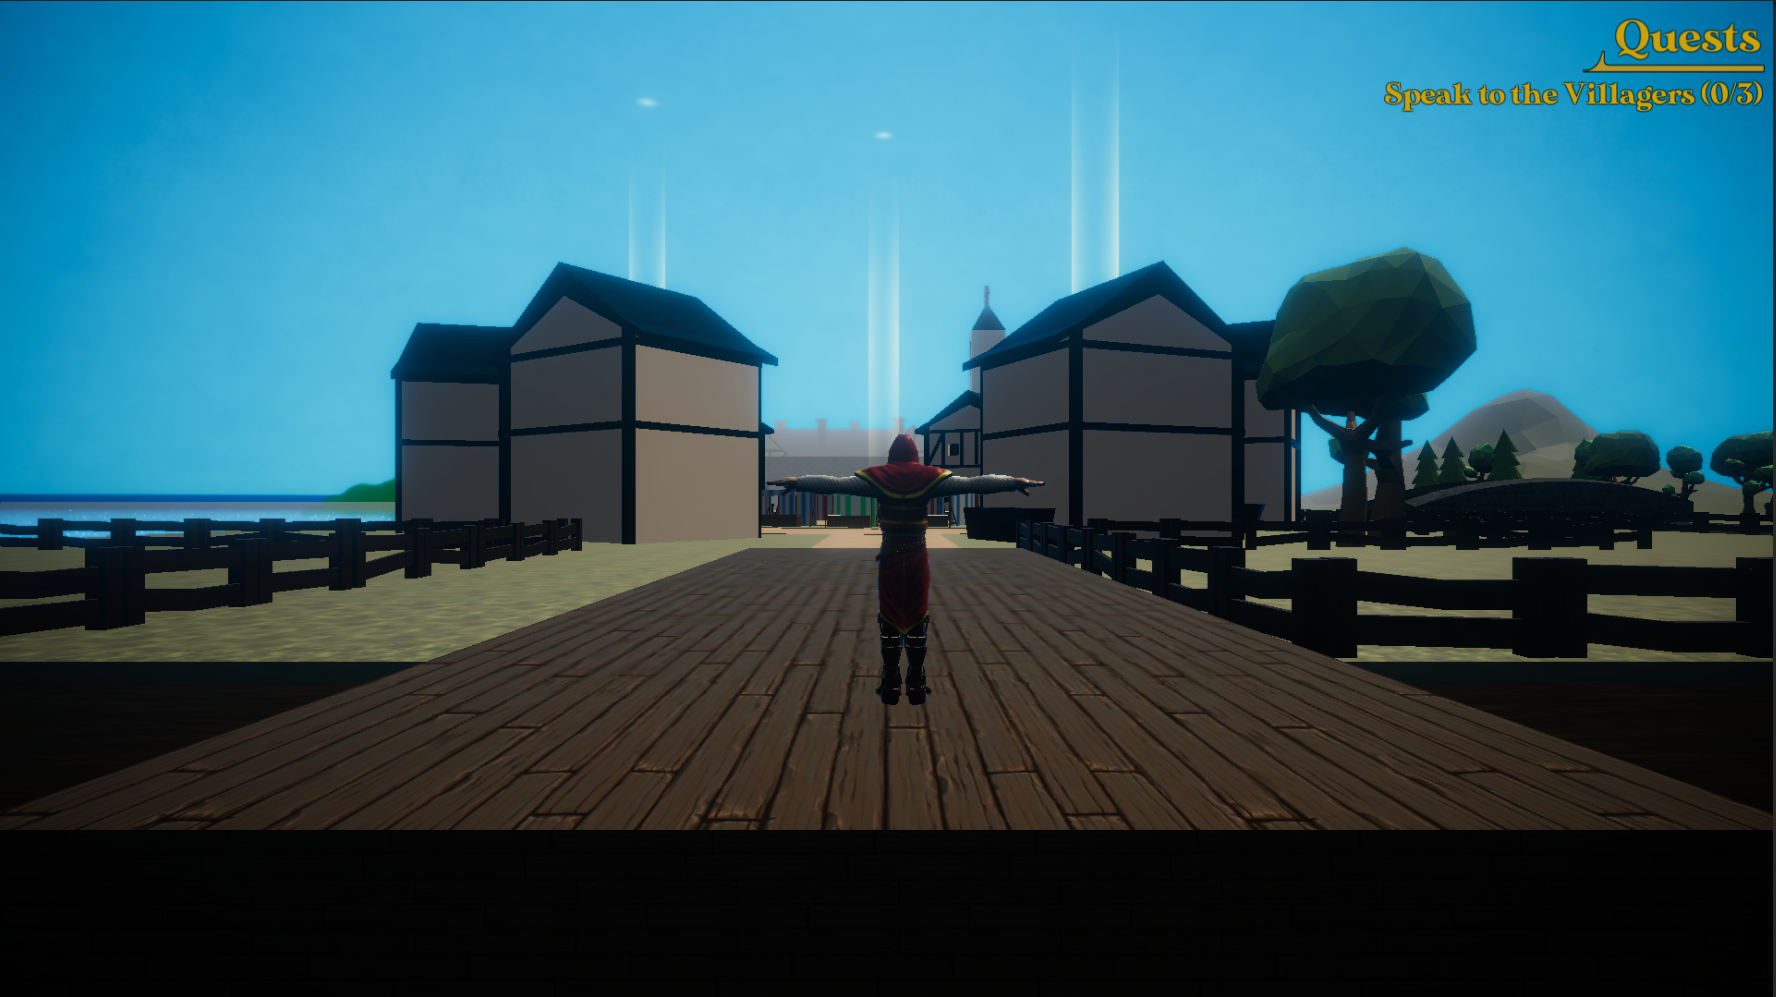
Another thing I improved here, which also adds a bit of polish to the games overall look, is the way the light works in the world. Previously, the light came from the skybox itself which Devon made, leaving a blue tint on certain 3D models. I changed this so that the lighting came from a gradient in the world. This was managed using Unity’s environmental settings. This makes the game look more vibrant and true to life, as opposed to looking washed out by a cool blue filter. I then added a fog setting through the environment settings, this looks really good now, as if there is actual depth to the world.


To add to this, I looked at our post-processing options and made some changes here aswell, I added a Vignette, some motion blur, tonemapping and bloom. This made our game look even more polished when mixed with the previous settings to the environment.
Whilst I was chipping away at that, Devon started to make the boss fight and modelled the boss aswell. Our idea for the boss fight is inspired by the first boss fight on Nintendo DS classic, Sonic Rush. In this boss fight, Dr. Robotnik controls a snake like mech and tries to squash sonic as seen in this video.
Our boss fight will control the same mechanic and will be over three phases, as previously mentioned, I will be really happy if we can get just one of these done because we then technically have a full game start to finish. As Devon works on the boss fight, I am going to look at adding the sounds our music student partners have created to our game. Caitlin has been on form with the sound effects and they all sound great, now its just time to find a place for them and the music that Nova has made.
Week 5 – The End (Postmortem)
Week 4 Reflection – Well, managed to get a lot done but sadly we couldn’t complete the game or even get in a single boss fight. The result of this has left me disappointed. I managed to make an attack and roll for our player towards the end of the week but there is not enough time to implement a whole boss fight unfortunately.
Burndown Chart
It is now the end of the project and the game is in an unfinished state, which given by the standard of some of todays AAA releases, can possibly be considered a success. We weren’t able to implement a boss fight for the game which I am disappointed about. The reason for this was we could not get the animation and coding to work with each other and eventually just ran out of time for it. As this is the deadline for the project, it doesn’t necessarily mean it won’t get finished, we could keep chipping away and get the vision for our game nailed down.
In terms of working with this particular group, I can’t say much about the time we spent together as a team. Owen for me was a standout figure in our group and was constantly working on the project where others may not have been working at all. The time the group had together was wasted with comments such as ‘I’ll work on this from home’ and ‘I’m still working on this from last week’, the work ethic just simply wasn’t good enough, had it of been, we could have been here with a finished product and something to really shout about.
That may sound harsh to my peers, but that is the grand reality of it, I’m not saying we shouldn’t be proud of what we have managed to make because we should, we have made a game that looks polished and has a large open world free to explore, there’s not many students who could have accomplished. Its more the fact that we could have achieved so much more if we all worked as hard as each other.
I think this will be evident when it comes to individual blogs, if I was to measure the workload each person had, I would say I had 60% of it, Owen had 20% of it, Devon had 10% of it and Keilan and Travis both share 5%. I will tip my hat to Devon however, he volunteered to put together some key pieces for the game and our trailer showcase which have worked out really well.
Keilan tried to get involved as much as he could but I do feel he could have done a lot more than he did, I think in total he made 3 or 4 3D models and Travis made a playboard however, this took him 3 of the 5 weeks we had to complete. Again, this may sound harsh on my peers but the work ethic needs to change if they are in this for the long haul.
Overall, happy with the product we have made and what we’ve managed to achieve, I am just disappointed that it feels like only 2/3 of the 5 people actually only put any real effort in. I am looking forward to starting work on the synoptic project and the challenges that may arise.
