Itch.IO – LINK
This week, we will be jamming! That is right, my first game jam is here and I am evidently over-excited about making a game with my fellow classmates. The theme for the jam is Distance.
In my group we have myself, Devon Hunt, Harrison Stevenson, Jake Langley and Marcus Eley, we have decided to do an endless runner game that takes after the impossible game.

To start out we set a theme and that theme is Neon, so we will be looking at using bright vivid colours, tons of neon lights and some EDM to match. I personally have taken up the roles of programming and 3D modelling, aswell as Unity implementation. Devon will also be assisting me in those fields. Harrison will be working on art assets for the game, while Jake and Marcus will be doing some 3D modelling.
In the first session it was important to get the basics down, so we made a trello board as a to do list so we could list some core functionalities of our game and assign tasks to each individual.
To begin, we started to work on the very basics of the game functionality and that was making the character move, we needed him to move forward and across 3 individual lanes. So we made a platform that was 10 units long in the Z axis and 3 units wide in the X axis. This way we could refer to the separate lanes as -1, 0 and 1. -1 being the left lanes, 0 being the middle lane and 1 being the right lane.
Seeing as we didn’t have a lot of time, we scoured the internet either for a tutorial or a premade script which would allow us to do this and we came across this script which is on the Unity forums. LINK. We use this as a base template and modify what we need to fit our scene. It should be worth noting that the original author of the code has said it is ok to use this and he has left it there for others to use as a solution.
using System.Collections;
using System.Collections.Generic;
using UnityEngine;

public class playerController : MonoBehaviour {

    [Header("Player Properties")]
    public float playerSpeed = 5f;
    public float playerJumpHeight = 1f;
    public float changeLaneSpeed = 10f;
    public float gravity = 12f;

    [Header("Lane Properties")]
    public float laneWidth = 1.5f;
    private int laneIndex = 0;

    private CharacterController myCharacterController;
    private Vector3 velocity;

    bool isFalling = false;

    bool userInput = true;

    private void Start() {
        myCharacterController = GetComponent<CharacterController>();
        laneIndex = 0;
    }

    private void Update() {
        Move();
    }

    private void Move() {

        if (userInput == true ) {

            if (Input.GetKeyDown(KeyCode.LeftArrow)) {
                print ("Left");
                if (laneIndex == 0 || laneIndex == 1) {
                    laneIndex--;
                }
            }
            else if (Input.GetKeyDown(KeyCode.RightArrow)) {
                print ("right");
                if (laneIndex == 0 || laneIndex == -1) {
                    laneIndex++;
                }
            }
            else if (myCharacterController.isGrounded) {
                velocity = Vector3.forward * playerSpeed;

                if (Input.GetKeyDown(KeyCode.UpArrow)) {
                    velocity.y = Mathf.Sqrt(2 * gravity * playerJumpHeight);
                }
            }
        }

        if (transform.position.y < -1f && isFalling == false) {
            isFalling = true;
            userInput = false;
            print ("Falling");
        }

        velocity.y -= gravity * Time.deltaTime;

        Vector3 moveAmount = velocity * Time.deltaTime;
        float targetX = laneIndex * laneWidth;
        float dirX = Mathf.Sign(targetX - transform.position.x);
        float deltaX = changeLaneSpeed * dirX * Time.deltaTime;

        // Correct for overshoot
        if (Mathf.Sign(targetX - (transform.position.x + deltaX)) != dirX) {
            float overshoot = targetX - (transform.position.x + deltaX);
            deltaX += overshoot;
        }
        moveAmount.x = deltaX;

        myCharacterController.Move(moveAmount);
    }
}
Once that was out of the way it was time to start researching ways to make our platforms spawn an infinite amount. Firstly I made some primitive platforms using Unity’s built in 3D objects. One platform has a jump obstacle, the other has an obstacle where the player will slide under it and the other platform would feature a ramp. We also have a normal platform so it isn’t always obstacles that the player comes across.
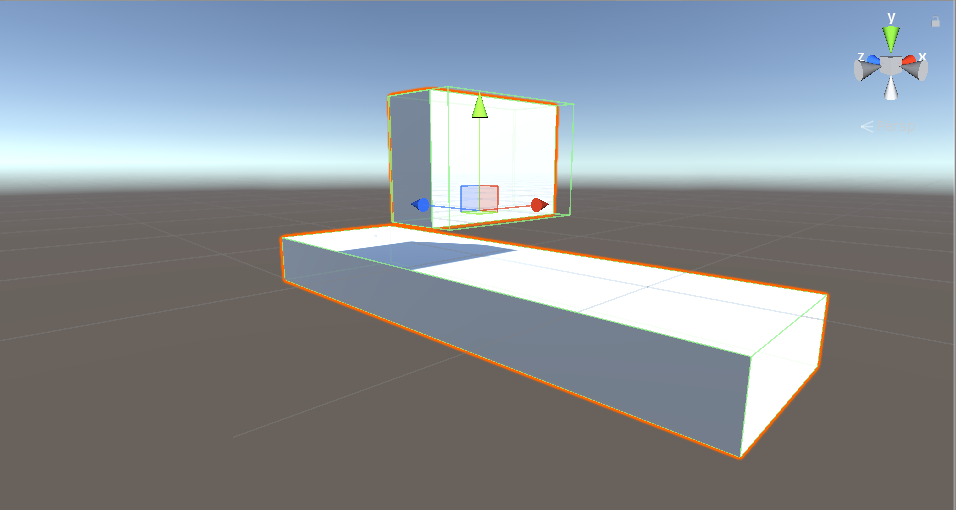
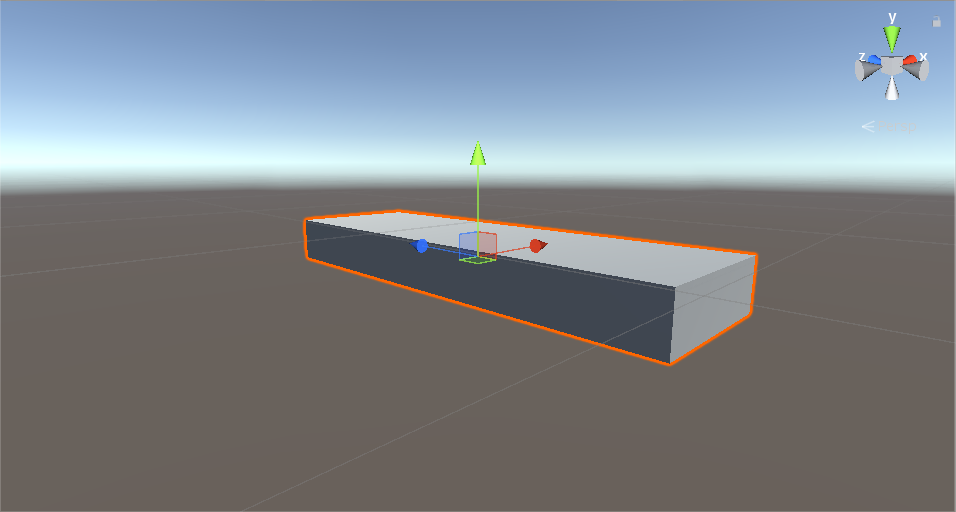
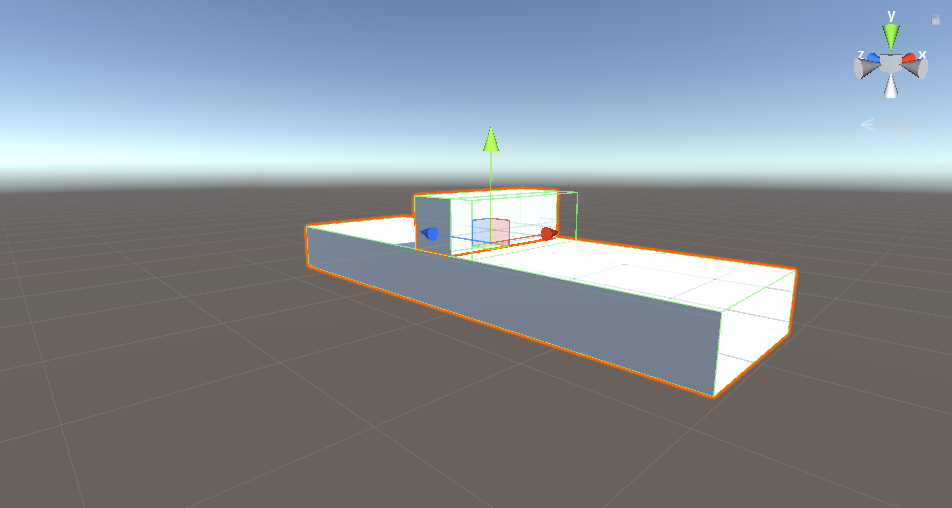
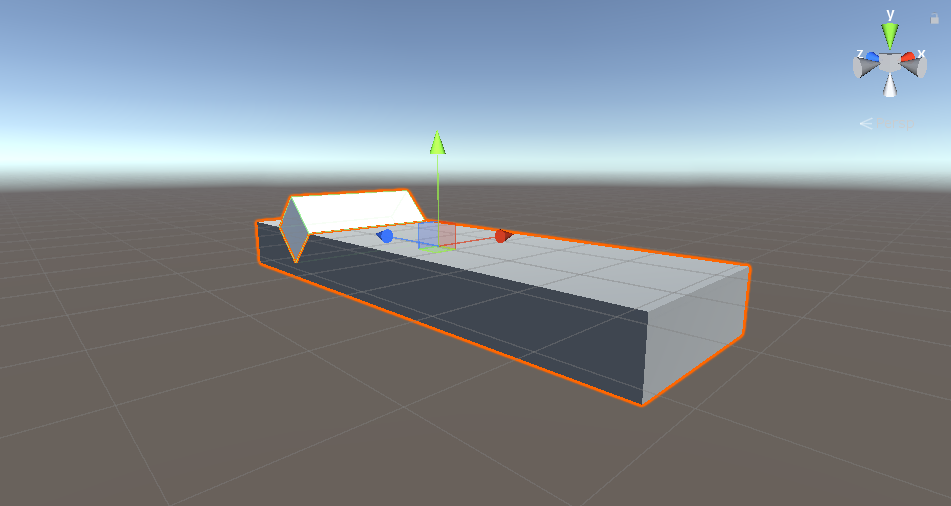
Then all I done was take the primitive shapes that made each platform, placed them into a empty game objects, set the transform position to 0, 0, 0. I then renamed and dragged the empty game object into my prefabs folder.
Then it was back to research time, I took to the internet to find some help making the platforms spawn. I do already have a little knowledge when it comes to this so that is why I knew to make them into prefabs, although programming it is a different level.
I came across a YouTube channel named Holistic3D. This person has a whole Udemy course on creating a 3D Endless Runner, however, the only free episode is the one I needed. The author gives us a script to make the platforms spawn.. but not to an infinite amount, but to an amount which is good for us to test the function of our game.
The script is as follows:
using System.Collections;
using System.Collections.Generic;
using UnityEngine;

public class WorldGen : MonoBehaviour {

	public GameObject[] platforms;

	// Use this for initialization
	void Start ()
	{
		Vector3 midPlat = new Vector3(0, 0, 0);
		for (int i = 0; i < 50; i++)
        {
			int platformNumber = Random.Range(0, platforms.Length);
			Instantiate(platforms[platformNumber], midPlat, Quaternion.identity);
				midPlat.z += 10;
        }
	}

	// Update is called once per frame
	void Update () {

	}
}
Essentially how this code works, you attach this script to an empty game object and position the empty game object where you want the platforms to spawn from. It uses an array which allows you to put in multiple game objects to use as a collection to spawn.
It then creates a space, in this case, at 0,0,0 for our objects to spawn into and uses a random.range function to choose what platforms to spawn and where. Now for the platforms it is important for them to be 10 long in Z axis as this script will spawn the platforms every 10 units. However, as I mentioned before, this only allows to spawn in 50 of them, so we need to do some more research as to how to make them spawn infinitely.
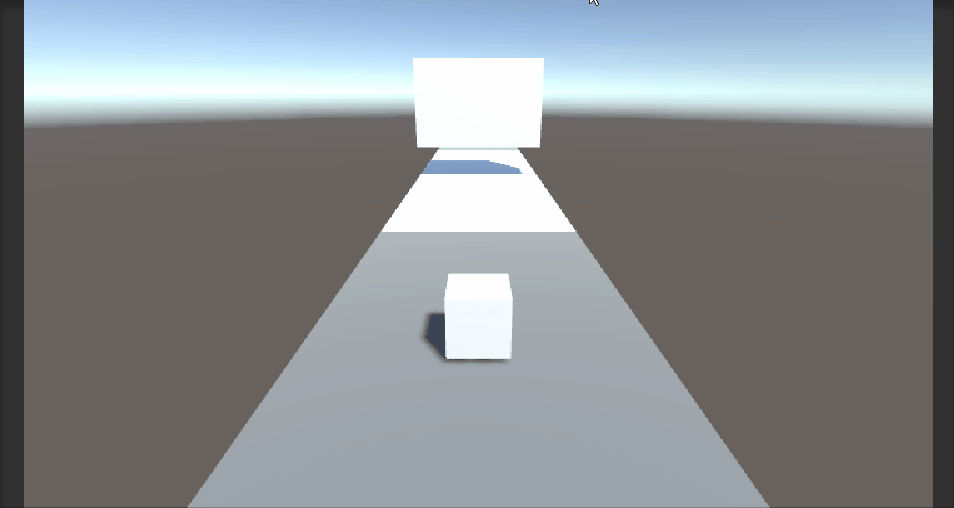
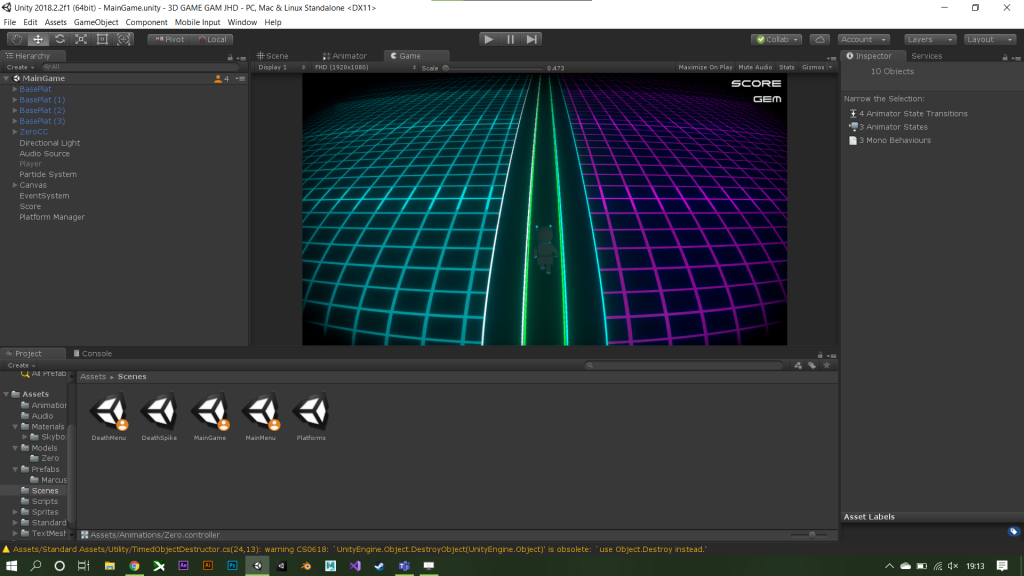
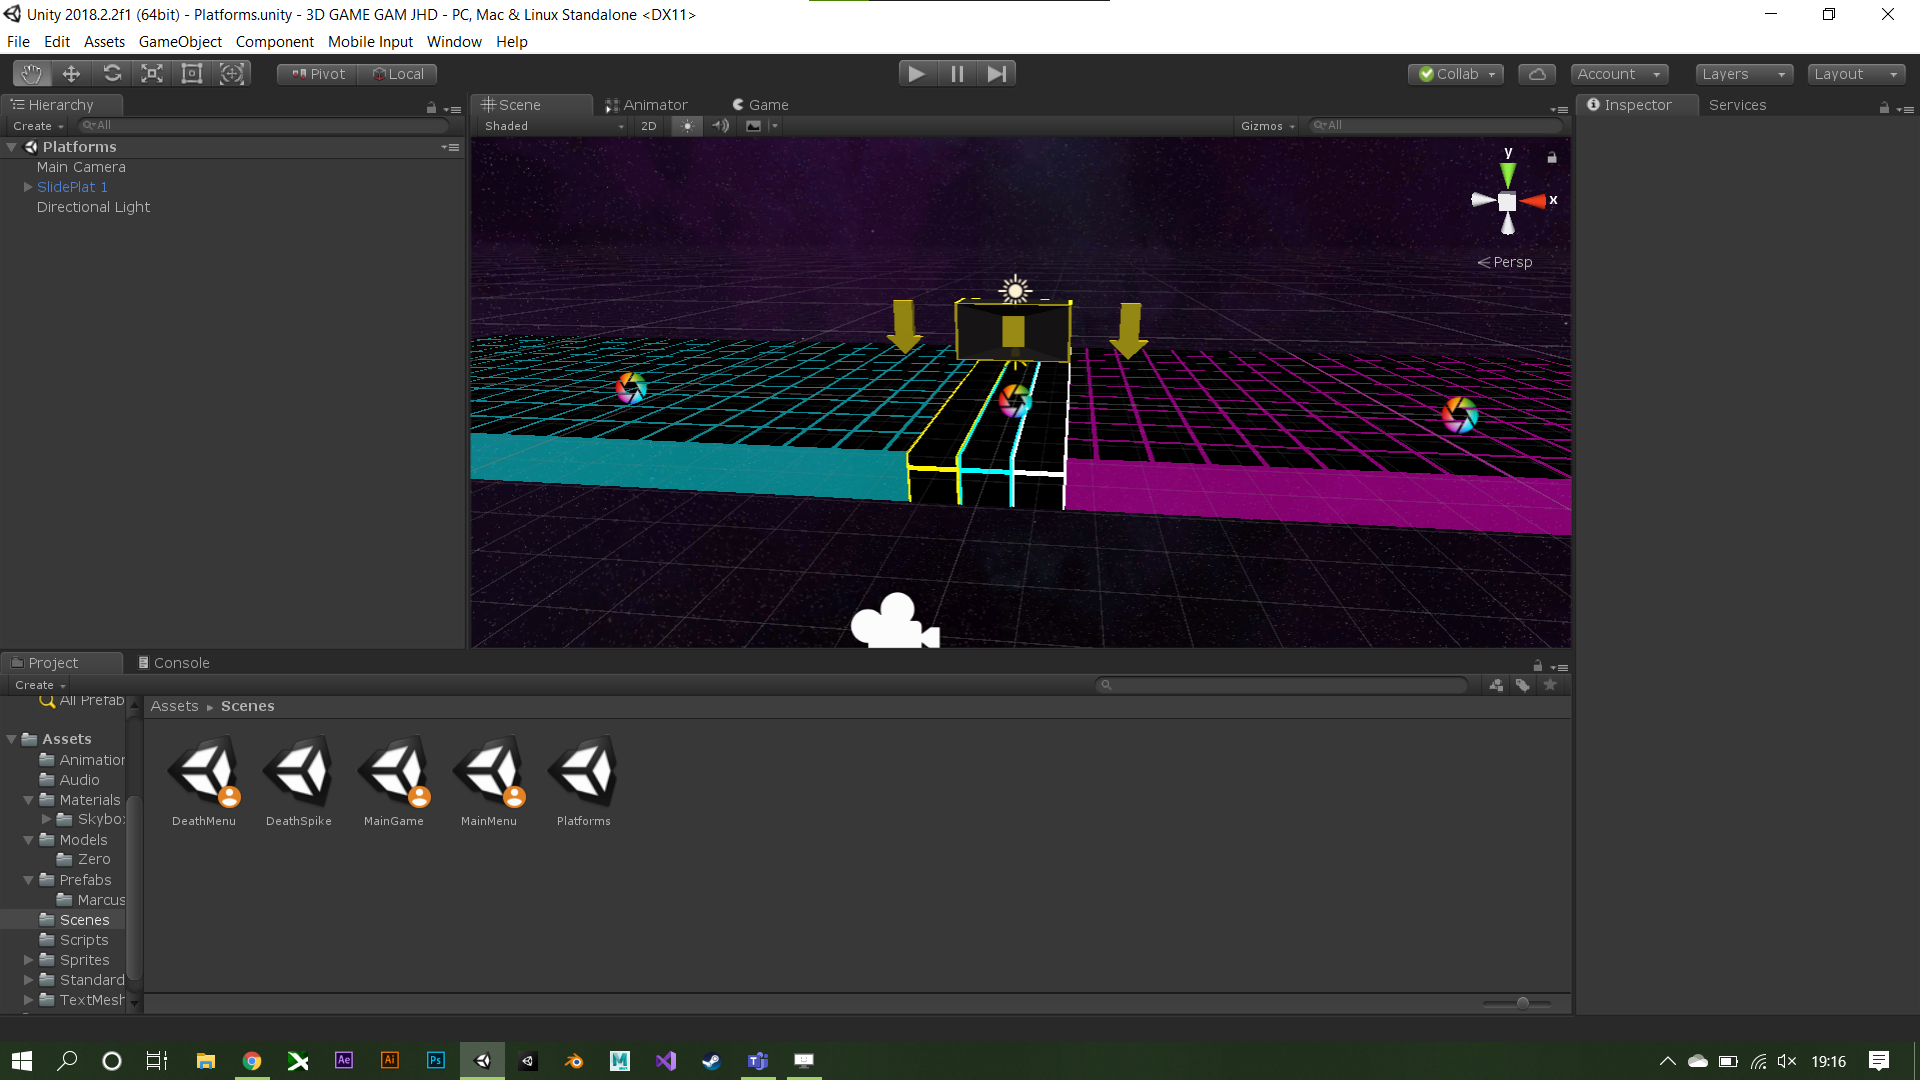
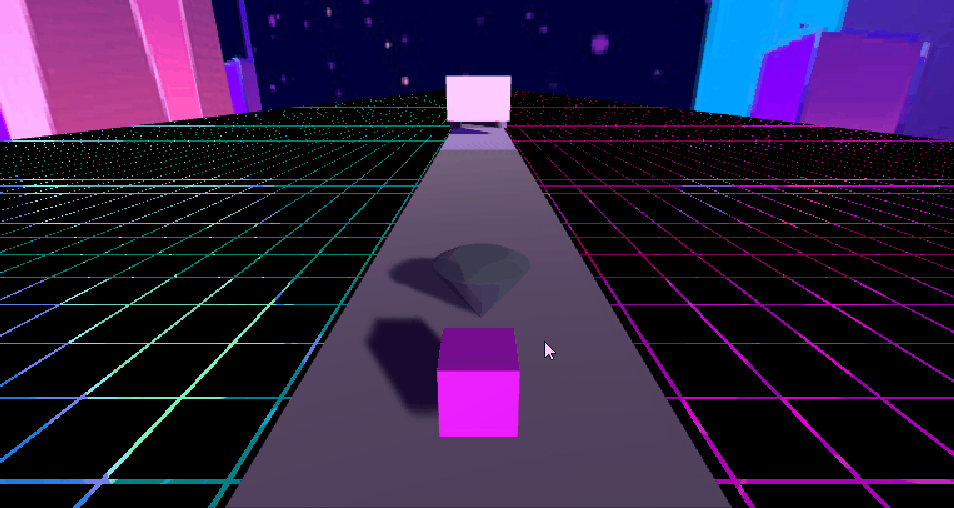
So far it works! Now its just time to make the game look better, we researched common neon themes and came across images that would feature wireframes and outlines of buildings.
So I started to research how we could make neon-wireframe blocks each side of our platforms and to achieve this, we looked into shaders. Shaders are a game component that contain code to render certain effects or visuals. I came across this shader. LINK. This shader gives us a wireframe grid with a few customisation options.
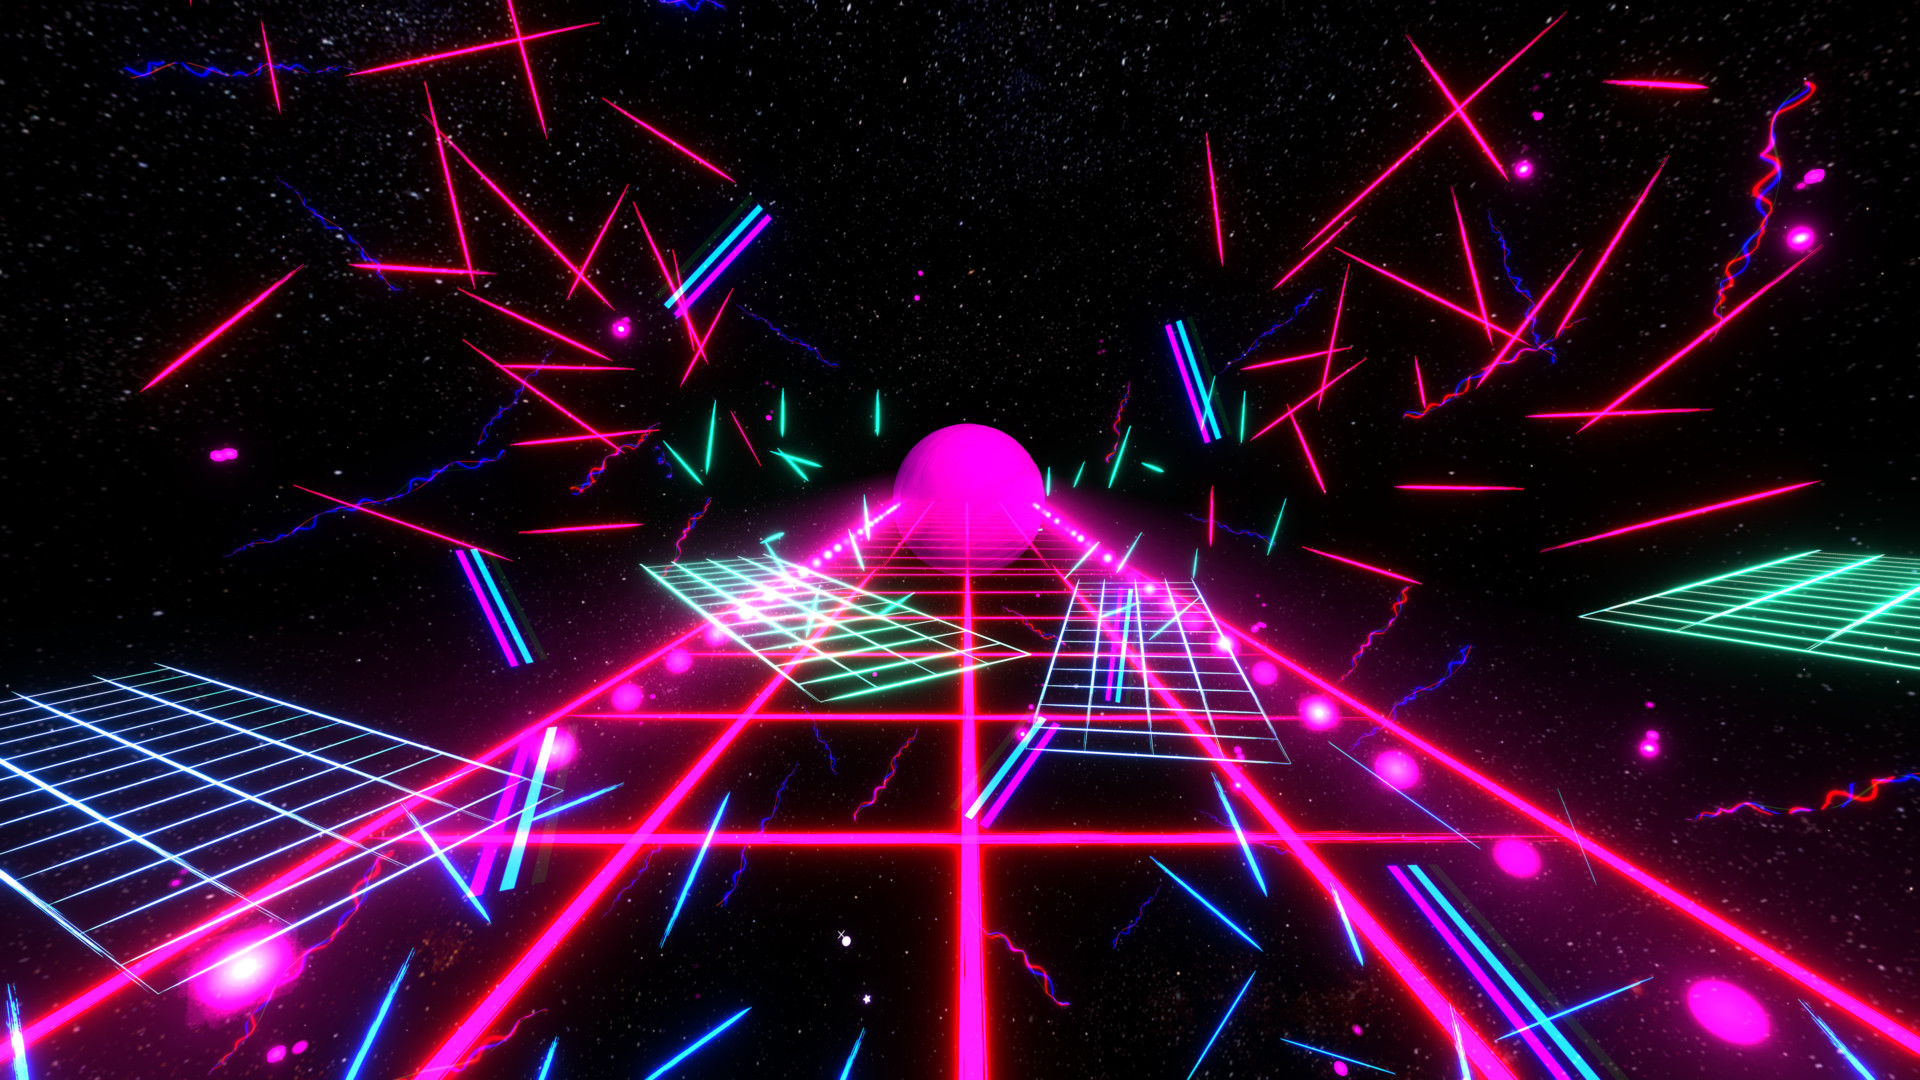
Using that shader wasn’t enough, I needed to look at creating a skybox. Using the themes mentioned before, I looked at Neon City vectors to use in a skybox. I came across this image. LINK. I’m using this as a temporary placeholder. Then using photoshop, I made it into a skybox.
A skybox is a component of Unity that acts as a panoramic set that refracts lights and colours onto the environment. With a few tweaks to our character placeholder, This is how the game looks now.
With the core functionality out of the way and a basic look down, we can now look at implementing pick ups, a better character, better obstacles, a menu system, a UI, a soundtrack and much more.
Introducing Zero
For this project, I am allowing the use of my character Zero, although a slightly different colour scheme. He is moving from his origins of Green and White to a black and blue to fit in more with this theme. I took my model and uploaded him to Mixamo for an easy rig and easy animation.
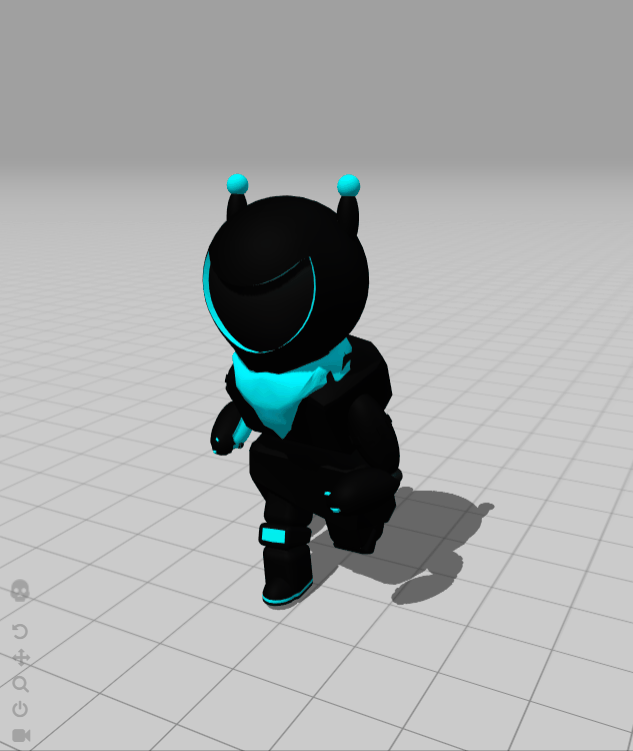
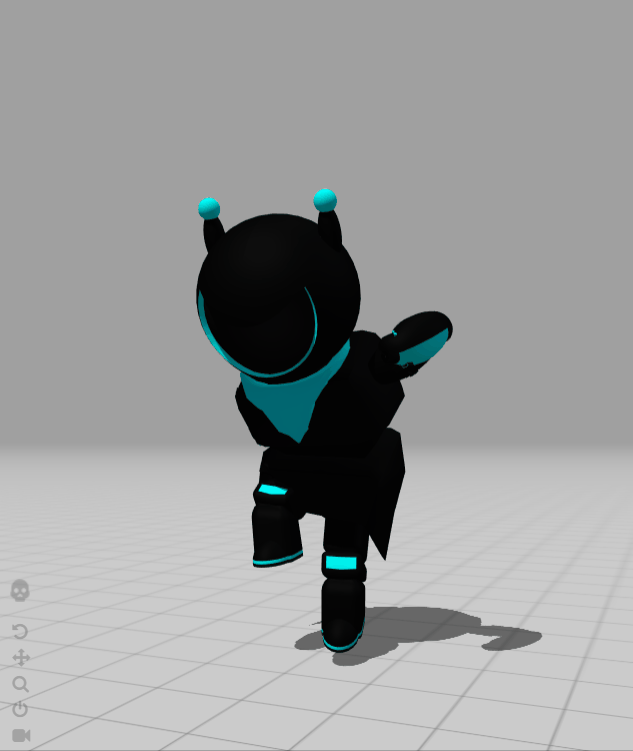
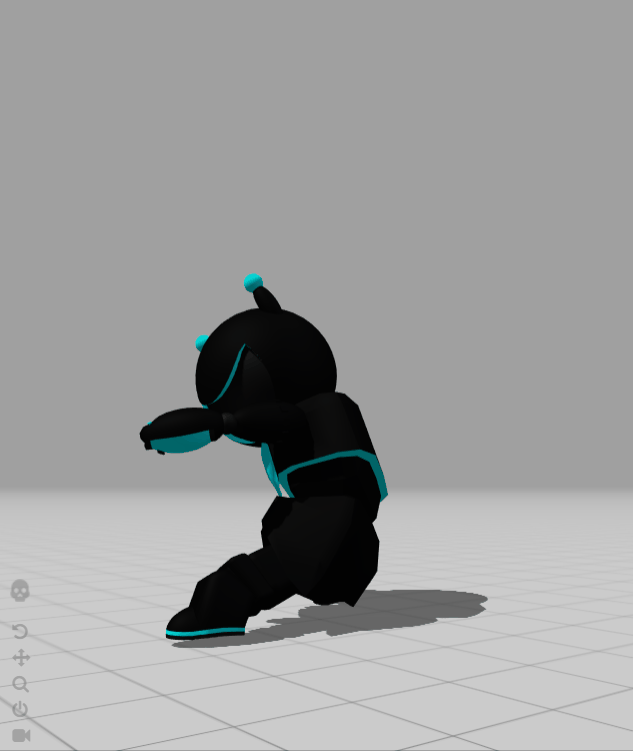
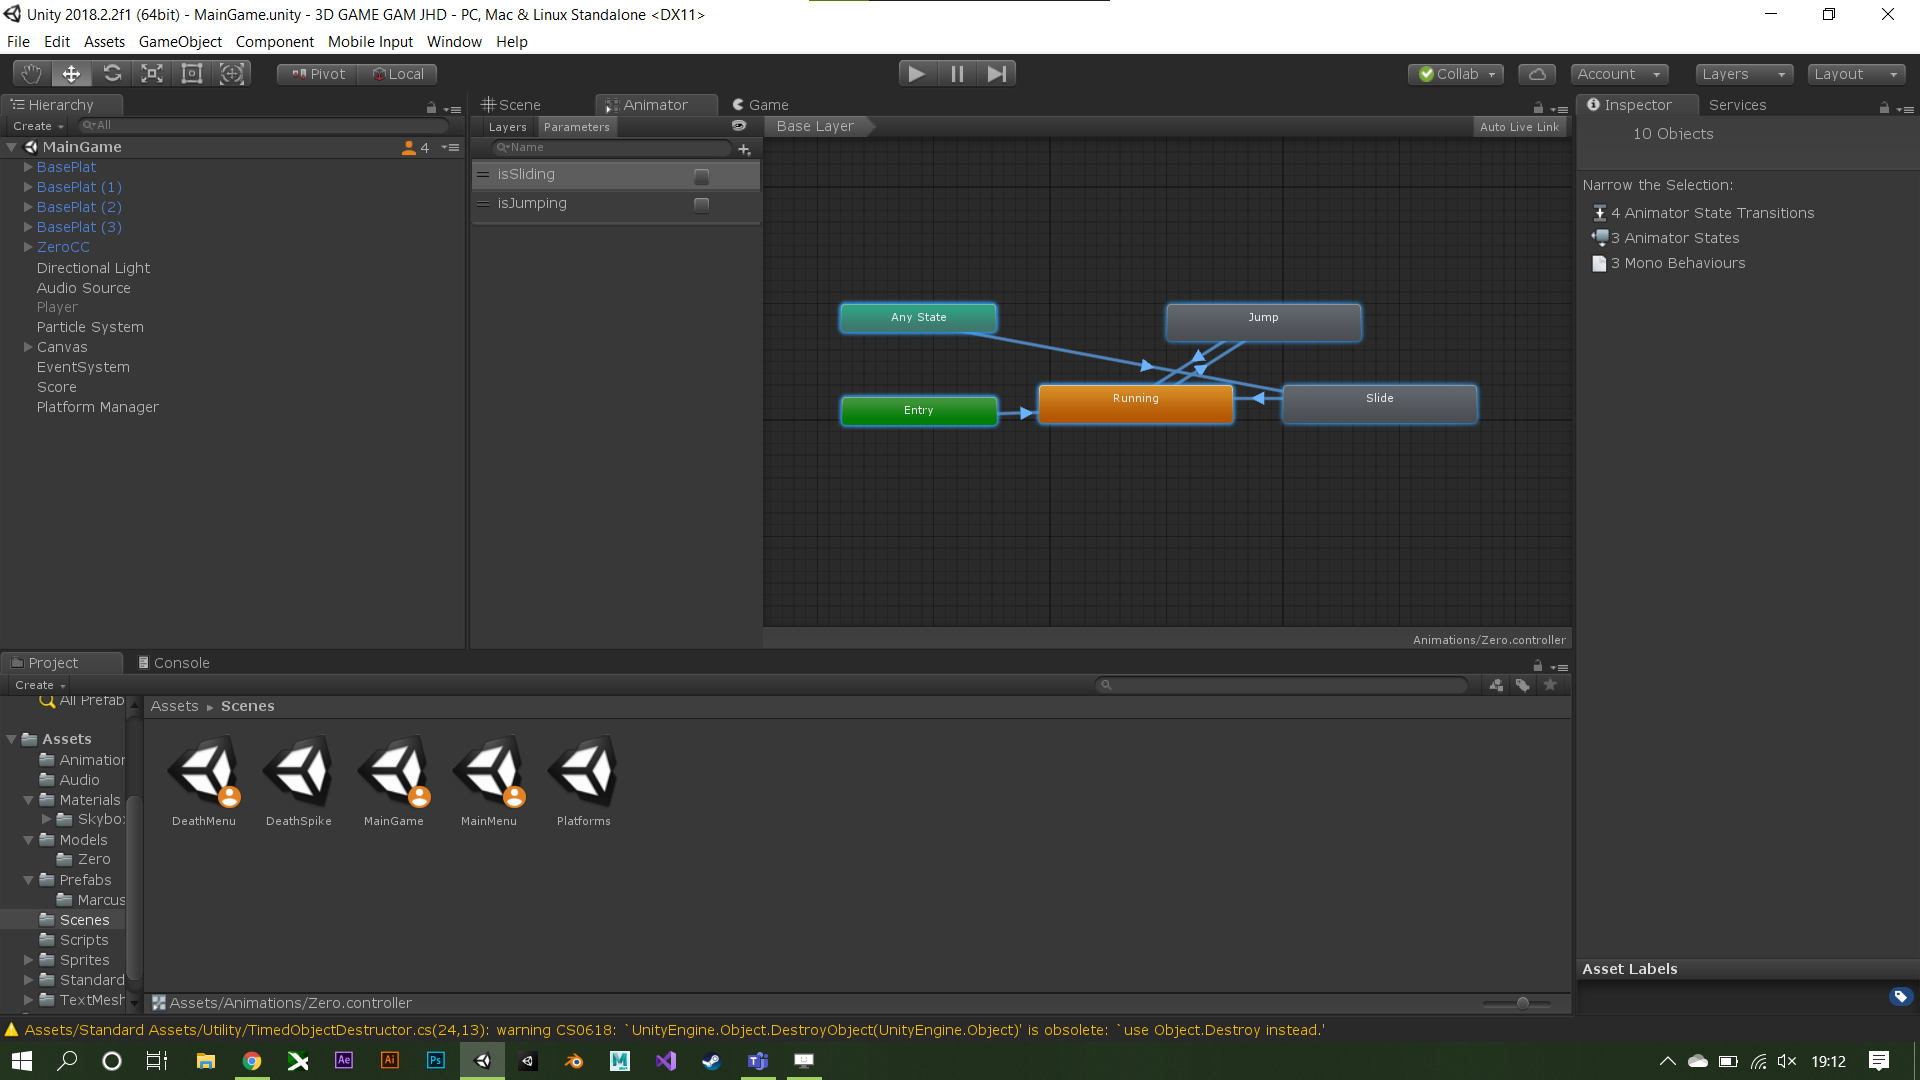
We then added him to the game to replace our cube placeholder, then using Unity’s animator, we put together the animations to go active when certain requirements were met. As an example, he would only jump if the up key was pressed, he would only slide if the down key was held.
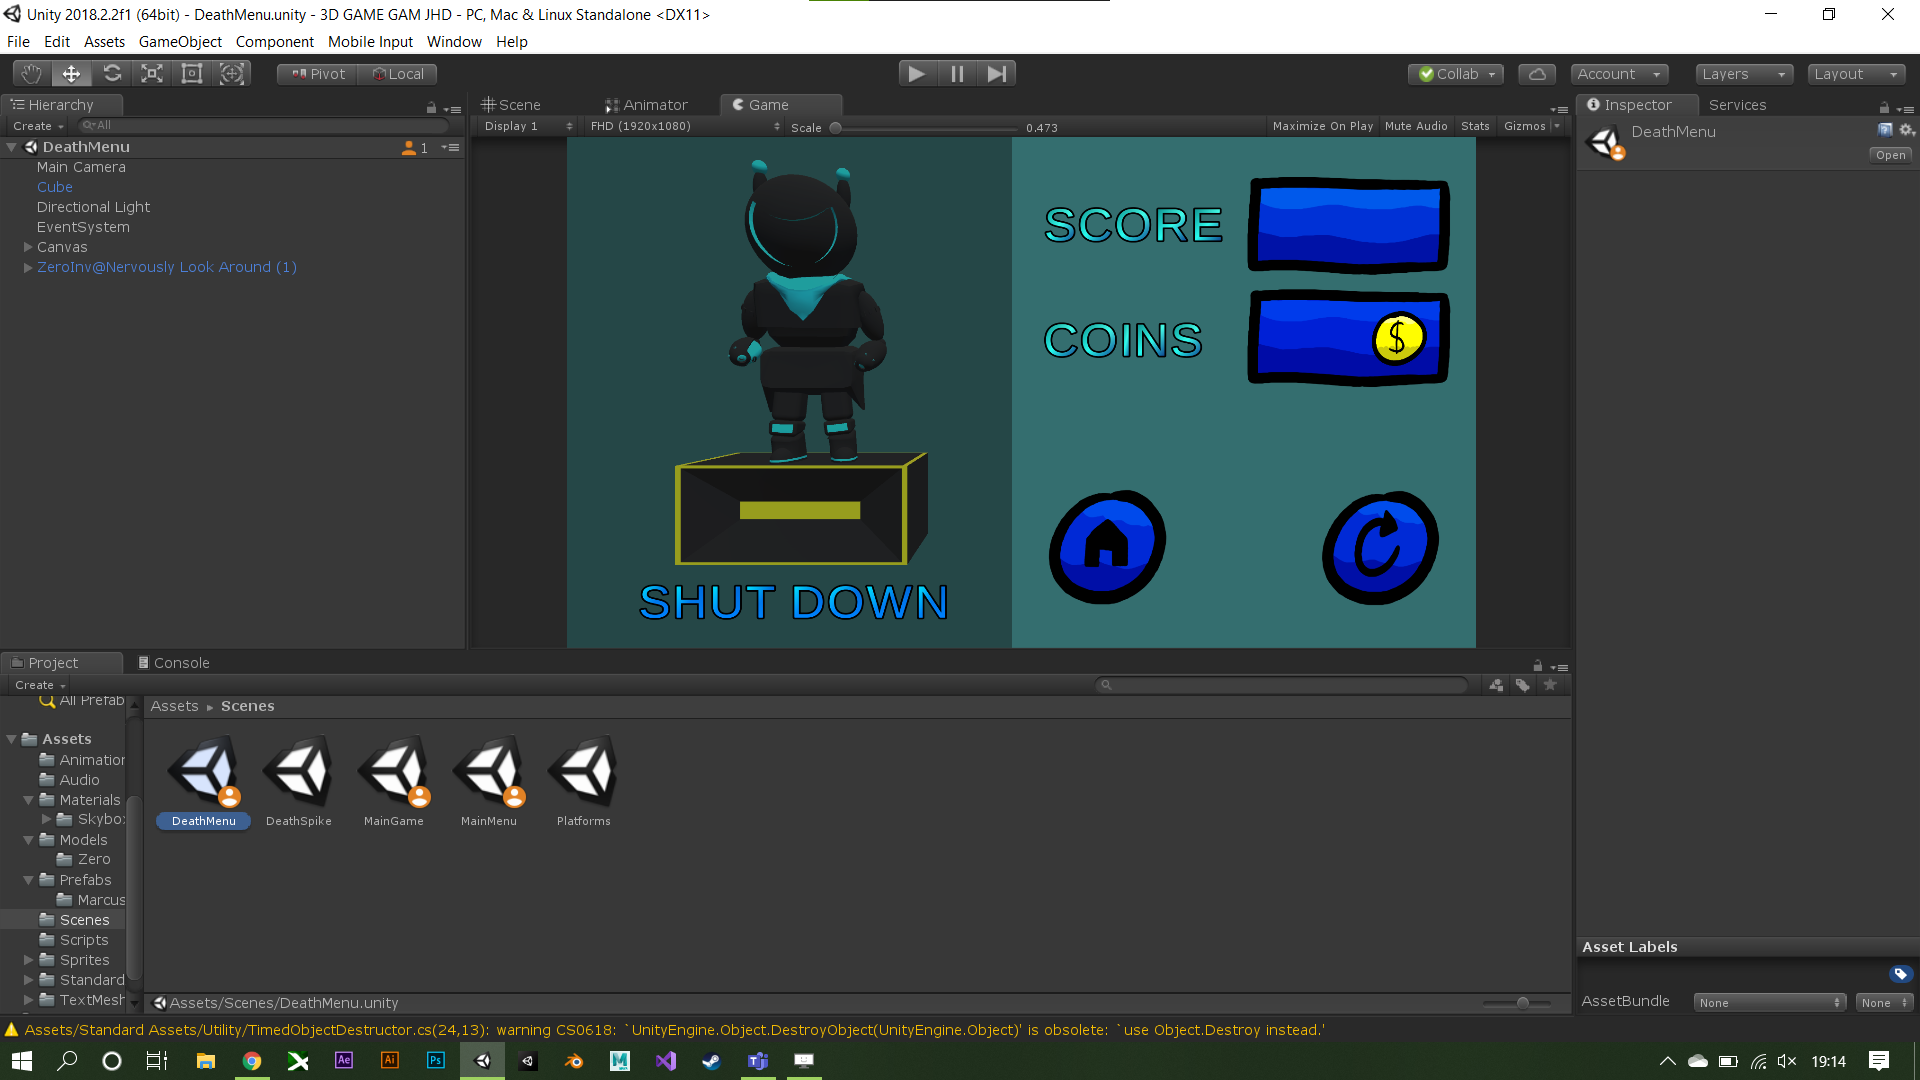
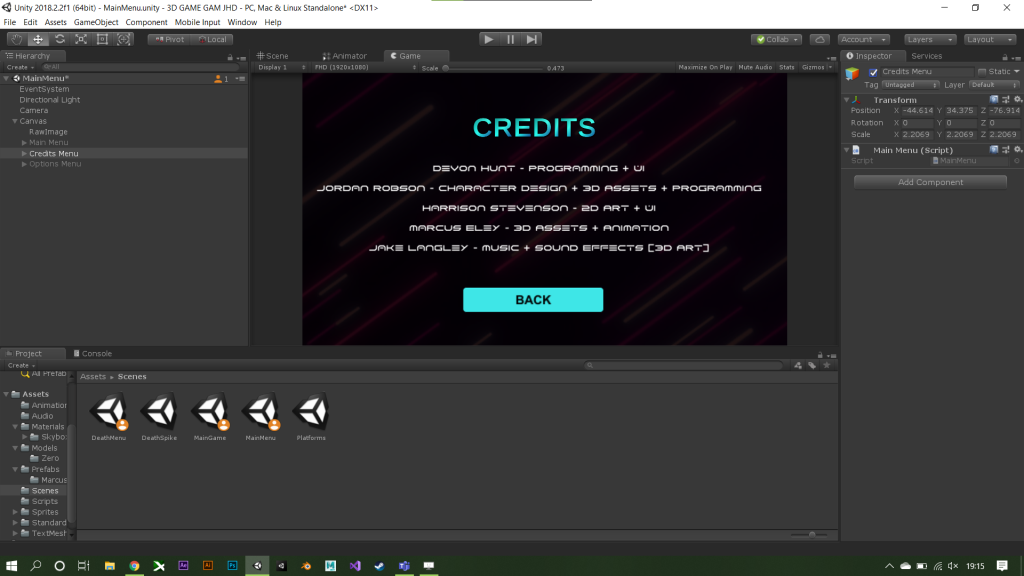
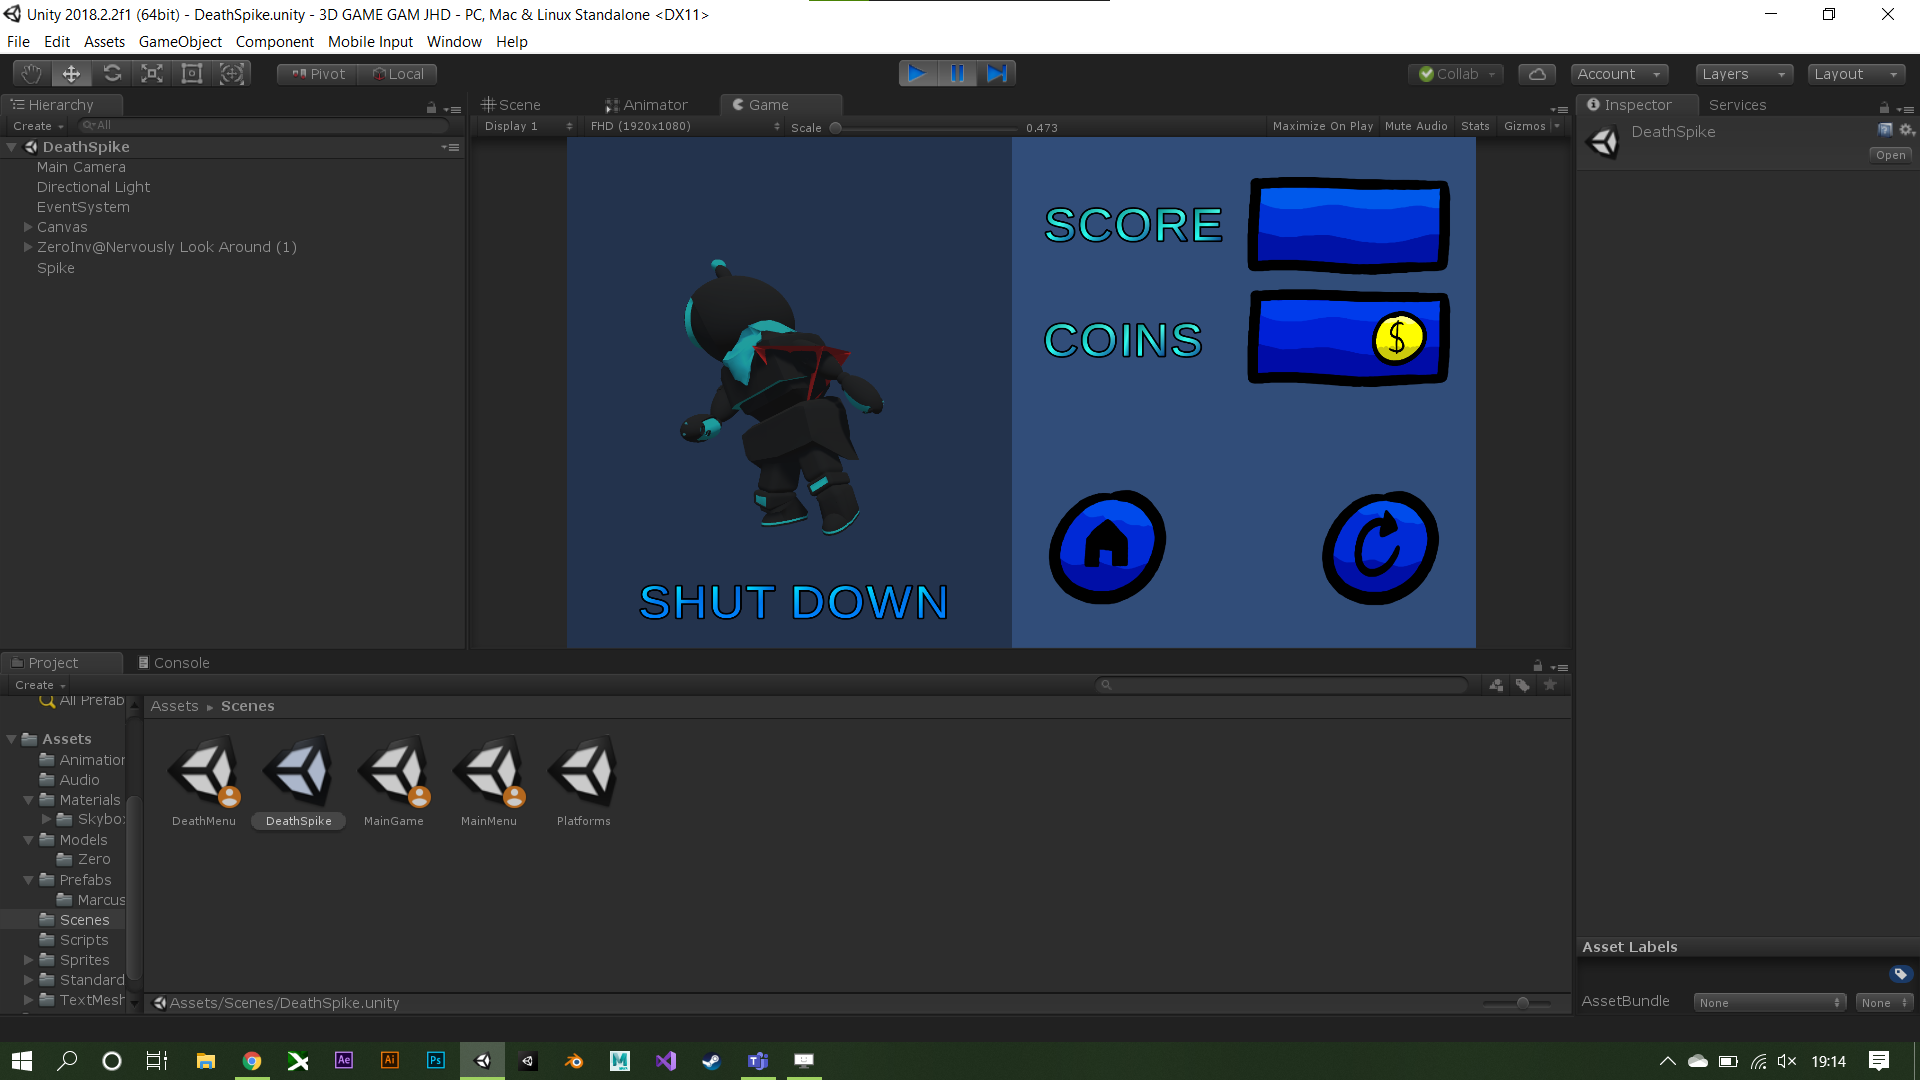
For a finishing touch, we then added post-processing effects, which include a vignette, bloom and lens distortion. From my input, that was pretty much me all done. I awaited some obstacles from Marcus Eley to finish the platforms off and the result is in this video. Devon Hunt put together the Menu’s and UI and also found a way to make the platforms spawn forever, we added Jake Langley’s music and sound FX and also used Harrison Stevenson’s 2D UI Art.
Overall, it was a really fun project that came with plenty of challenges, what is interesting is some of the design choices we made later on towards the end. As there is a Vignette now, the skybox is rendered useless, the neon lines on the platforms and on the grid were made thicker to reduce Anti-Aliasing issues. Is this game ready for a public release? No, its not perfect but we would like to work on it for the future to add more customisation options such as character editing and costumes.